Well, as you know, I like making 3D images. But nowadays there’s also an option of making 3D prints. You can do this with your own 3D printer or you’ll use the services of a company like Shapeways.
Personally, I want to experiment with my own 3D printers but finding a good one isn’t easy. On KickStarter, I found Tiko, the unibody 3D printer which looks great! So I supported it since I want one! It is now funded so they are working on creating it and then shipping it so I have to be patient before I can 3D print myself. And I’m not patient!
So I have experimented with Shapeways, which is fun. And my first experiments failed mostly. I noticed several interesting challenges because 3D printing and 3D rendering are two completely different things. Take, for example, this model that I’ve called Bianca:

A nice bikini model wielding a sword and something I really would have liked in color. Unfortunately, Shapeways does offer color printing but the details on this model are too fine for this. They have colored sandstone and colored plastic. Unfortunately, sandstone is brittle during printing and the model might fall apart during handling. Full-color plastic is better but requires a minimum thickness of some parts and there’s a size limitation. The largest size allowed for this model resulted in too many thin walls. So I decided to go for strong, white plastic instead:

The drawback of white plastic is that I now have to paint it myself. Which is okay, since the print was perfect. Even her sword came out nicely. Only the bikini bottom had a flaw, since at one point of her backside, there’s a hollow area because the material was too thin. But hey, it looks funny so I don’t mind. 🙂
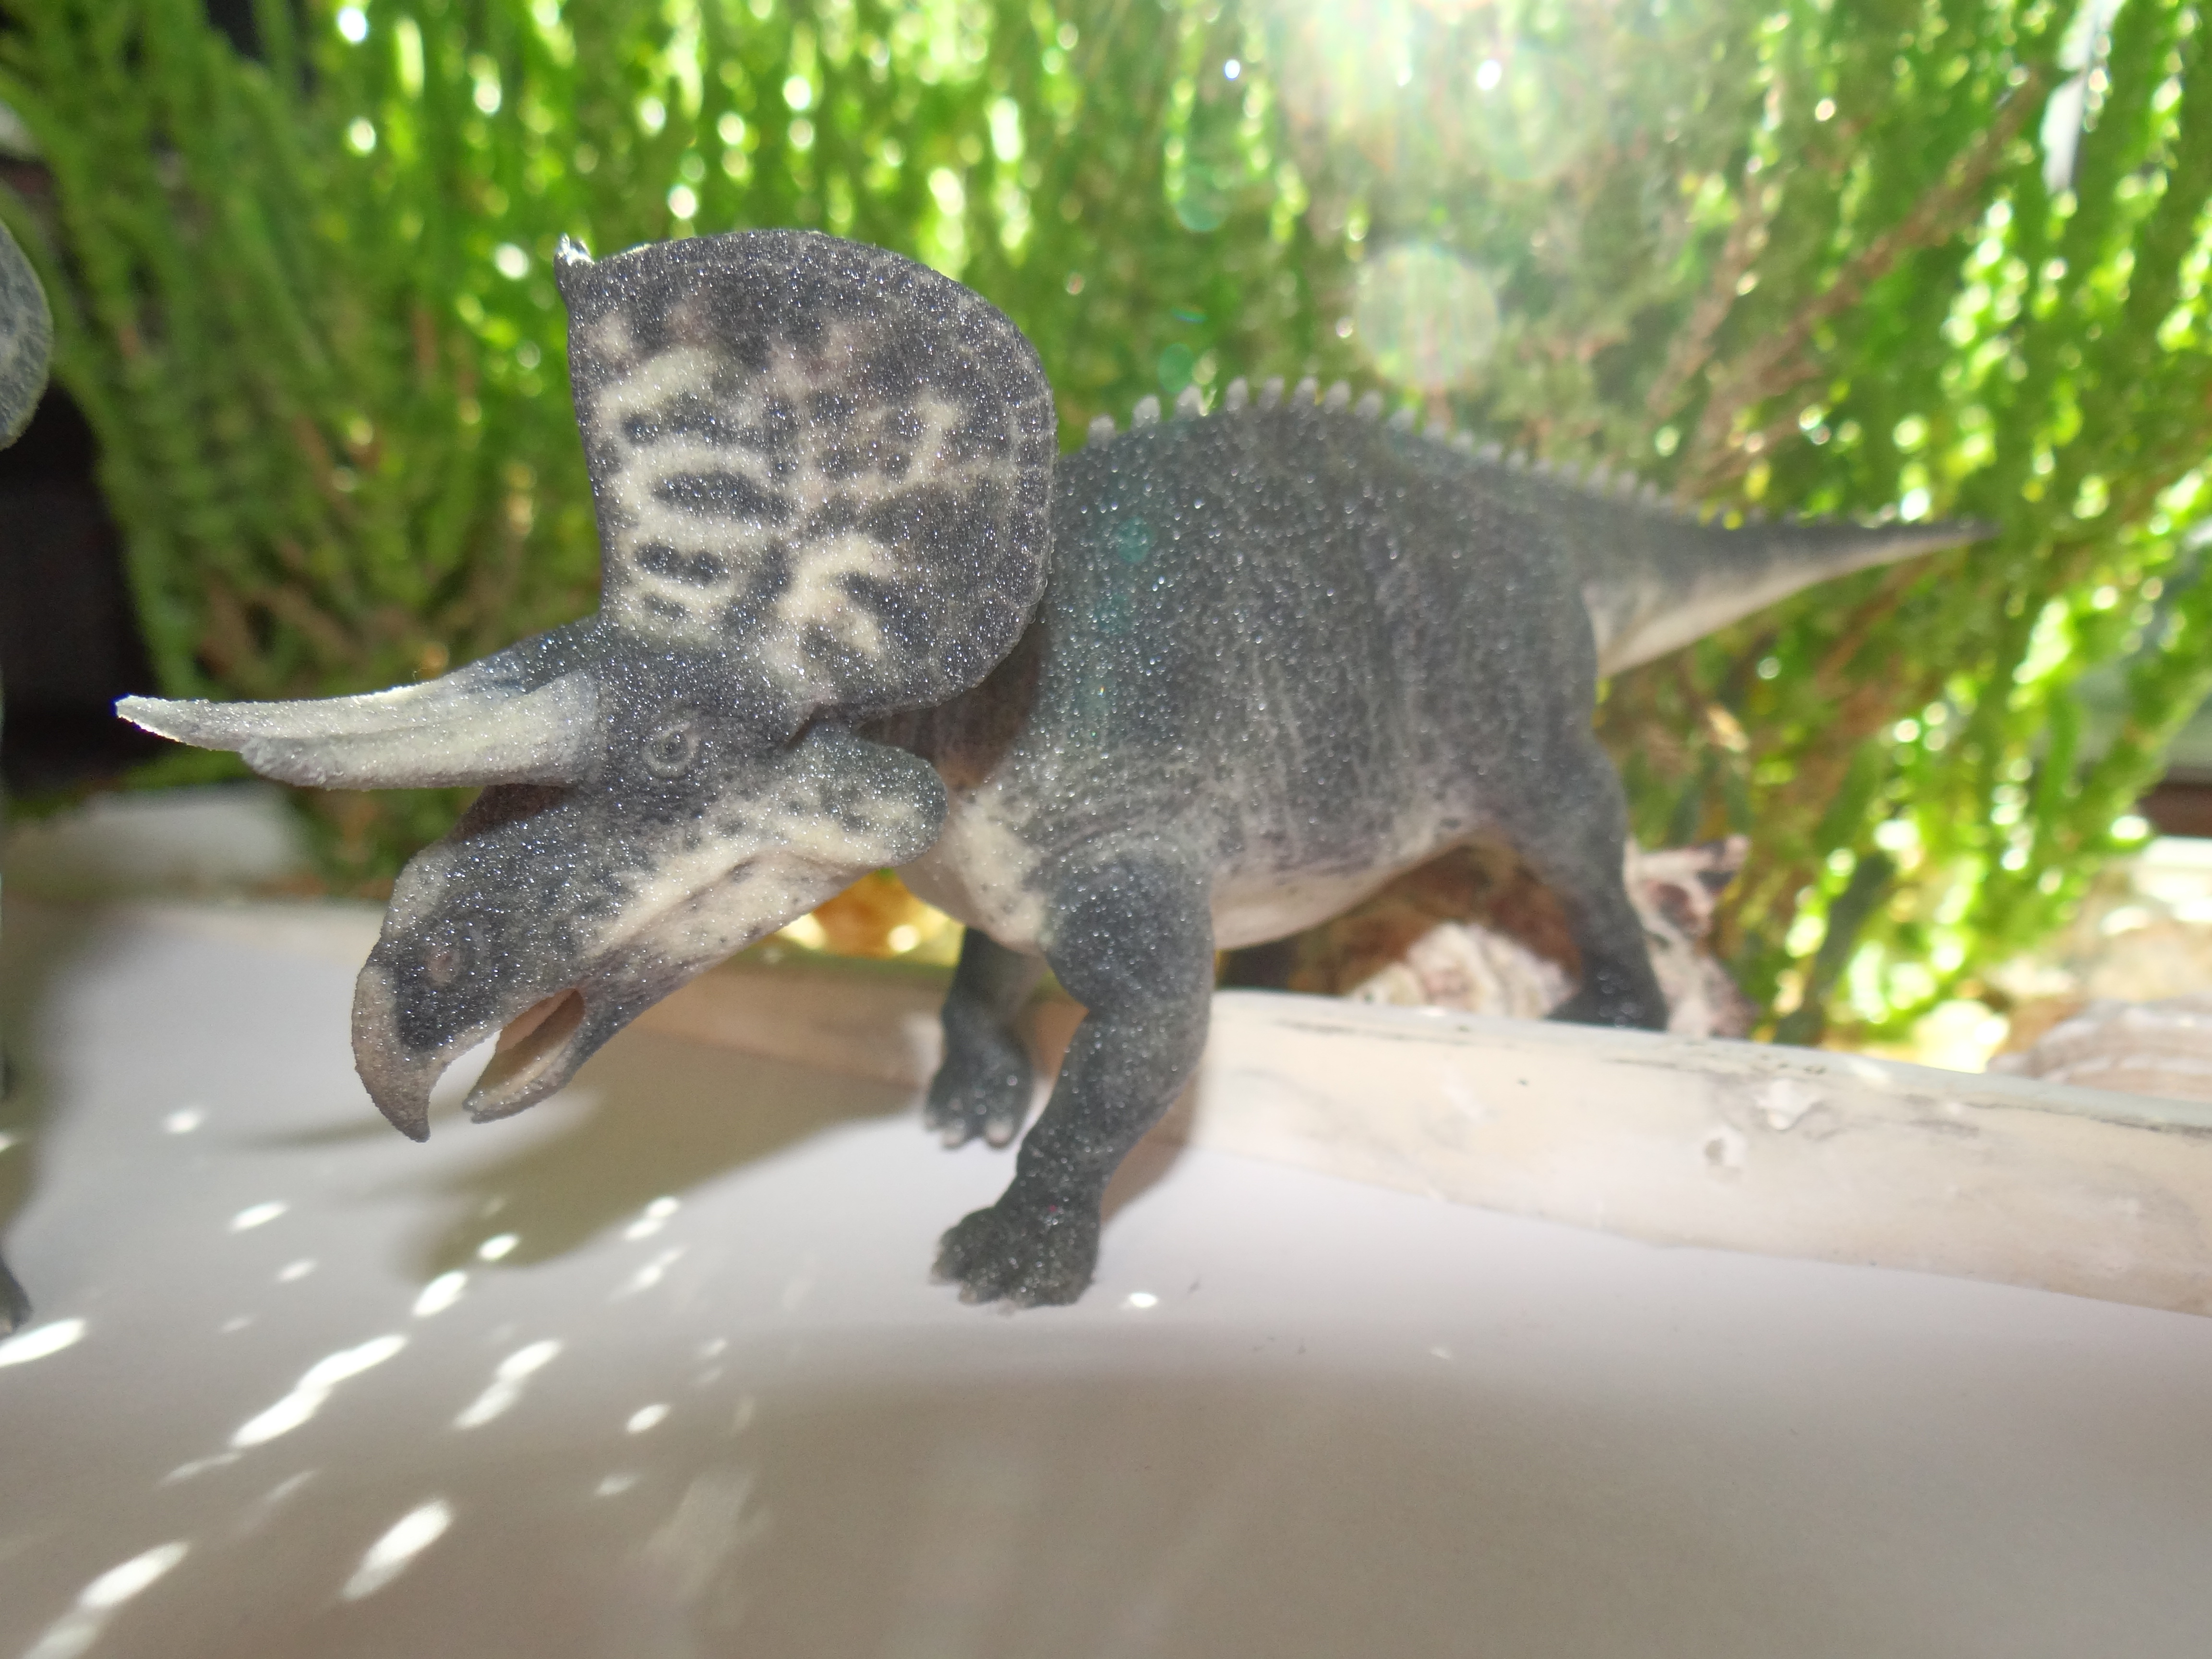
Still, I wanted a colored 3D print so I experimented a bit and decided to use this dinosaur as a model:

And I kept it just simple so I can experience what the material would look like. But also, it allowed me to see how well the sandstone can handle pointy, short things. And the result looks great:

Okay, not my finest picture but the result looks good. The sandstone glitters a bit, though. But the horns are great and the print was perfect, except for a broken toe. That’s basically a flaw that can happen with the chosen material.
There are many other materials to choose from, including metallic plastic and even expensive metals. But printing in those materials is complex and requires shapes with thicker walls and fewer details. Printing in gold is also very expensive because, gold! You don’t want to have big, gold models unless you have a big wad of money available.
For 3D printing, various techniques are used. The technique generally depends on the material used. Shapeways has a nice material selector for picking the materials you like and provides detailed information to use when you create your model. Metals are especially complex because they need to print a mold first. Once it is done, they have to pour the hot metal into the mold and then polish the result. Although fine details are possible, they might get lost during polishing and they might not reach all areas for polishing.
I have one model printed in Elasto plastic, which is fun stuff. This model can bounce since it’s a bit rubber-like. I have 4 models in hard plastic and two dinosaurs in sandstone, I’ve ordered a few more but they tend to be canceled because of small flaws that are discovered during manual checkups before they start printing. Often, it’s just the wall thickness, loose shells or other minor flaws but they are important because your finely detailed model might miss some fingers or other parts because these walls were too thin. Or the model is made from two or more parts and not all printers can print multiple parts.
Still, you can always tell Shapeways to print it anyways. I did so with several models and the results were fine. Except for one sandstone model, where the legs had broken off and some parts had shifted.
So, how do 3D printing and 3D rendering differ from one another? Well, there are a lot of differences and as I’ve discovered, when rendering I have some semi-transparent parts in my model that adds some special effects. For example, my model has a cornea that adds reflection or other special effects to the eye. But in a 3D print, there is no transparency so it becomes a blob over the colors of the iris.
Also, with rendering you tend to use bump mapping and set up special lighting to make the model look good. In printing, all you have is the shape of the model, nothing else. Details have to be part of the shape when printing while rendering images allows other tricks for those details.
And printing has only one color, unless you choose the 3D color printing options. You can still paint your model afterwards and to do so, I would recommend the strong, white plastic and acrylic paints. Of course, a color print is optional but the result might not be what you expect. Again, in a 3D rendering, the colors can be enhanced by using all kinds of techniques. For a 3D print, you’ll have to find a place in your house where the light will show your model from its best side.
Finally, the printing quality. If we were talking about 2D printer, we’d be talking at the number of DPI of a printer. In 3D world, we have to look at the volume of the smallest particle that the printer supports. And this also makes clear why 3D printing tends to be slow. If the smallest part is 0.2×0.2×0.2 millimeters and you’re printing something that fits a box of 20x20x30 centimeters then you’re using a lot of drops! Of course, the model will be smaller than such a box but my Bianca model was almost 80 cubic centimeters.
And to be honest, my 3D print needs a bit of polishing since those particles leave very, very tiny bumps on my model. Still, my sandstone dinosaur are made from bigger particles and feel like very fine sandpaper. Polishing should be possible, though. I just don’t want to risk it.
I’m still waiting for a few more models to return from the printer. I want my dinosaur in colored plastic just to see what that material is like. I also ordered it in white plastic for painting purposes. And I ordered two sandstone prints of this model:

Two versions because I used two different hair styles.
I hope this will print well and to help the printing process, I made sure the model is on a plateau for stability and put the hands and feet against something solid. I’ve set the bikini top and bottom to the thickest setting and now I just have to wait until they can take it into production.
So, my conclusion is that 3D printing has its challenges. I still have to wait for my 3D printer to arrive before I can really start making my stuff but for now, Shapeways is providing me a great service for testing purposes. Okay, a lot of my models have been rejected for flaws but you can only learn from your flaws! So I’m fine with that. I just start all over again until it goes right.
52.292973
4.972048