It’s about time I started blogging again and this time I just write a series of 10 parts explaining how I create small, plastic cases for all kinds of stuff. For example, like the battery container in a earlier post.
I like to use my 3D printed models as cases for my own electronic experiments. I’m still experimenting but things can be quite interesting this way. The things you create this way are unique. No one else has something like it, unless they can use your model to print their own cases. And this time I’m going to create a case for an electronic thermometer/hygrometer that I bought from AliExpress for € 1.28. And I want a pretty girl model to hold it up so I need to create a second structure to add stability to the whole model, since it would be top-heavy with the device high up. I will solve this by including space for a few 10mm round magnets that I have so I can put the whole thing against my whiteboard.
So, I will have a flat bottom with a small back panel that holds space for the magnets and a beam that will go up to give more support to the box. This beam will also hold a magnet on the top to better stick it against my whiteboard, else gravity will turn it upside-down. (Been there, done that!) An extra cylinder will connect the box to this beam so the model will be quite stable. That cylinder will need to be added in Poser since I don’t know where the box will be when I create it.
But because I need exact measurements I’m also going to create a model for a ruler, so I can scale the ruler in Poser to synchronize it with the dimensions of the case. Why? Because Poser doesn’t create export files with proper measurements so you need to rescale them afterwards! Since I know the length of the ruler and since it will be the longest part, I should be able to fix the scale again to the proper length.
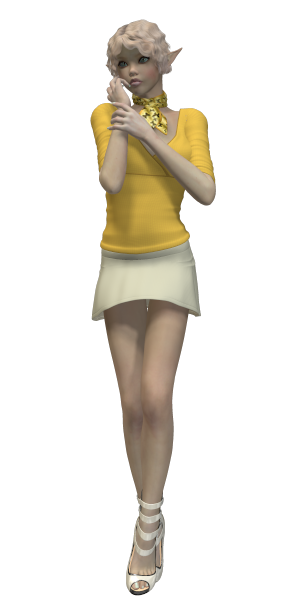
The model will be Anarani, who happens to just look pretty and I have printed her as a model before. She’s a small elvish character and she’s one of my favorite cyborg models. However, for this post I will use her without the cyborg parts. Anarani will be standing and holding the case at around her chest or higher. This means that the model will be tall and thin and I will later explain why that’s a good thing. (In short, it’s less expensive…)
So, with the model in my mind, I will also make an artistic rendering of the model just for the fun of it. It’s not complex but you will need to add textures to the case.
So, what software do I use?
- OpenSCAD to create the model of the case. This is a very useful tool since you will be writing scripts with exact measurements and can generate very complex things from basically simple components.
- Poser Pro for the Anarani model, since I want the case to be held by a pretty elf and that’s too complex for OpenSCAD.
- E-On Vue for the artistic rendering of my model.
- Accutrans 3D to remove unwanted parts from the model and to remove all textures and merge all parts into a single model.
- MeshMixer to set the scale of the model and to make it hollow. Meshmixer can also be used to put the model correctly upright, facing in the proper direction.
- NetFabb Basic to do some more, automated repairs. Especially important when working with Poser models since Poser models aren’t made to be printed but rendered.
- MeshLab as an alternative solution to repair models.
And finally I will send the model to Shapeways where it will be printed in white plastic. Other materials are also possible but white plastic tends to be the cheapest and strongest material. You can use sandstone and even colored sandstone, but sandstone isn’t very practical if you have small details like fingers, toes, noses, etc. Sandstone is great for making e.g. a bust of a model at a large size. However, sandstone requires walls of at least 2mm thick. Plastic can be as thin as 0.7mm…
In the end, I want to have a 3D printed model of about 20 cm high that I can put against my whiteboard and it will tell me the humidity and temperature.
So, that’s the plan. Let’s get started in part 2!
