Four models on Shapeways (NSFW)

I like Shapeways since you can upload your own 3D designs and end up with a 3D printed model. This allows me to e.g. create custom boxes for small hardware experiments. These boxes are combined with my Poser models and will thus result in very interesting designs. But like everything with 3D, you will have to do some experiments first. I created three new models in Poser named Nora, Tommi and Cassiopa and I used some interesting trick to create a special rack to include in the pose. But first, let’s look at Nora:

WIN_20151026_102324 WIN_20151026_102455

Nora was printed in two versions: White plastic and Colored sandstone. And in both models a few flaws were already visible. Nora’s shoes were made of a very thin material and the upload to Shapeways did a repair that removed the very thin parts. As a result, the shoes are flawed.

WIN_20151026_102331 WIN_20151026_102500

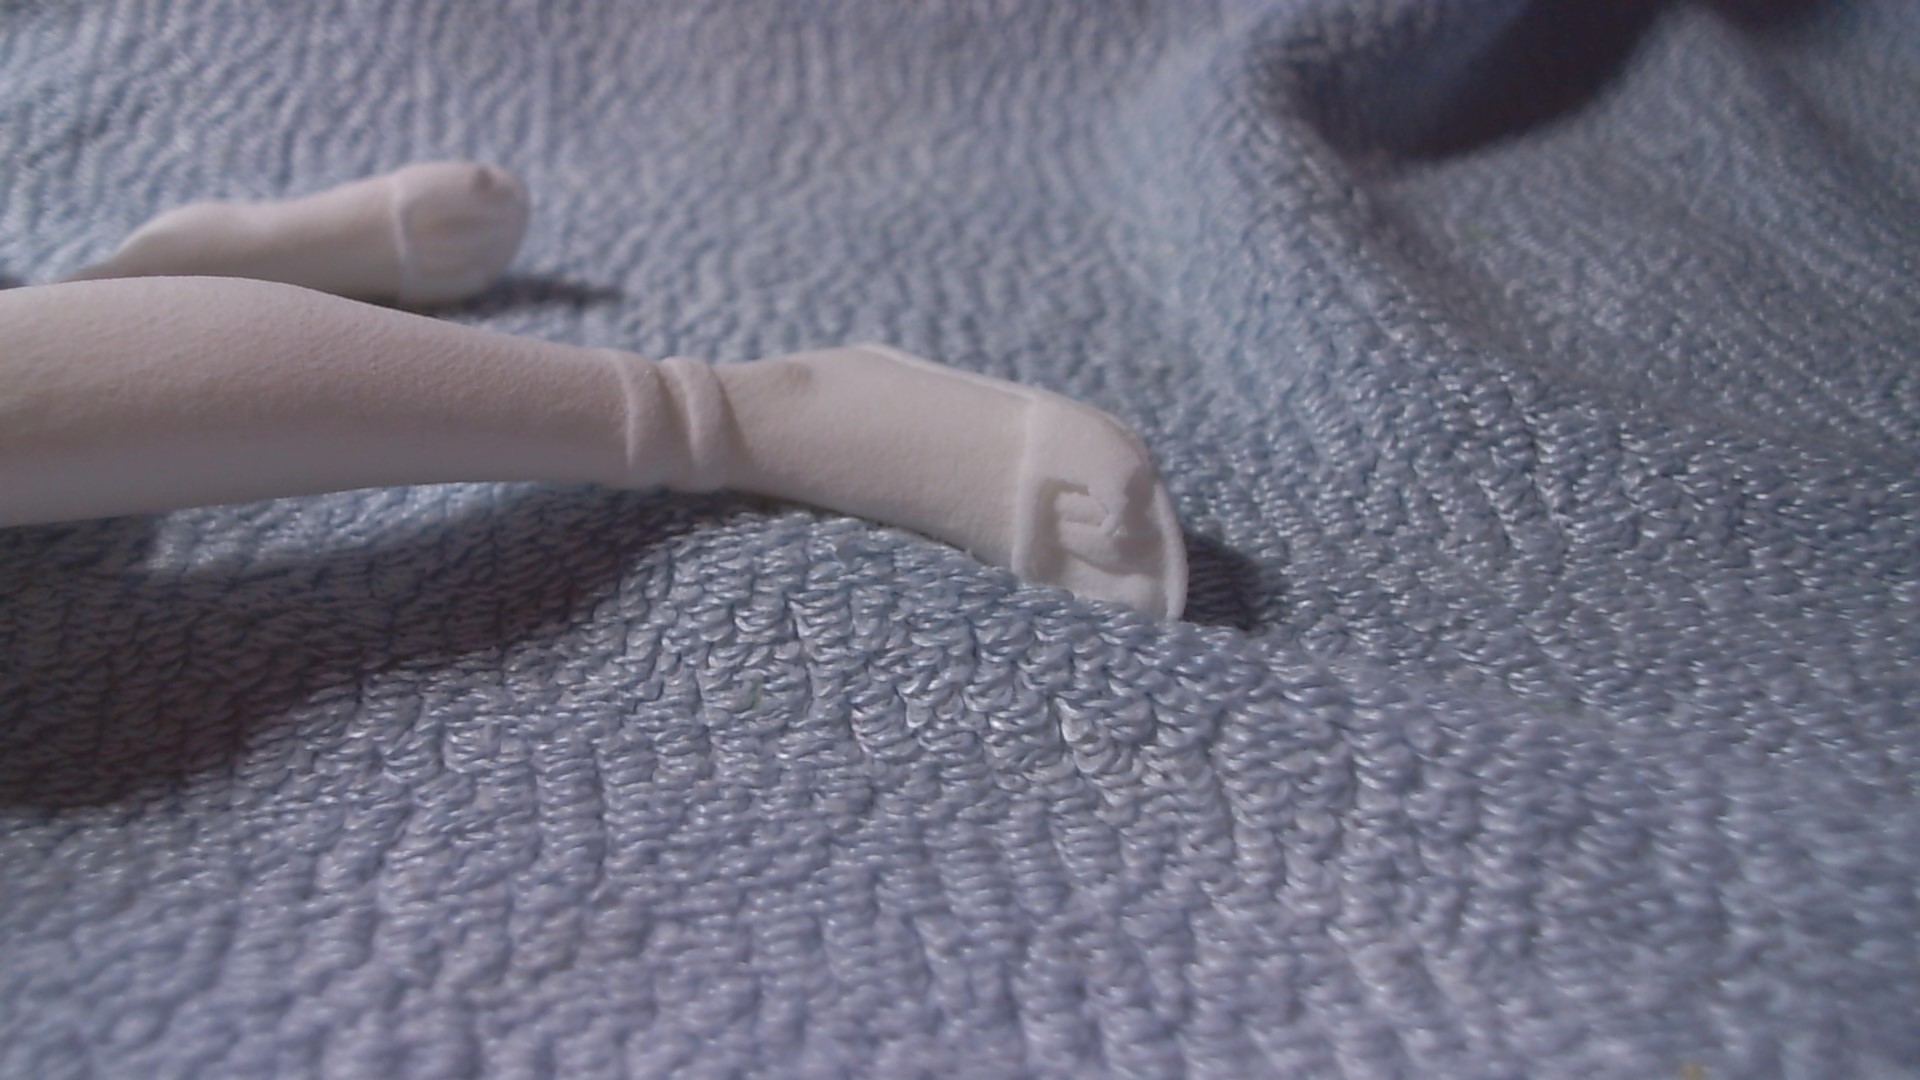
Well, a bit of glue and plastic can fix that. But her fingers were also a bit delicate and the sandstone version ended up with broken fingers because the fingers are actually too thin. Again, some glue and they’re back in place.

WIN_20151026_102352 WIN_20151026_102505

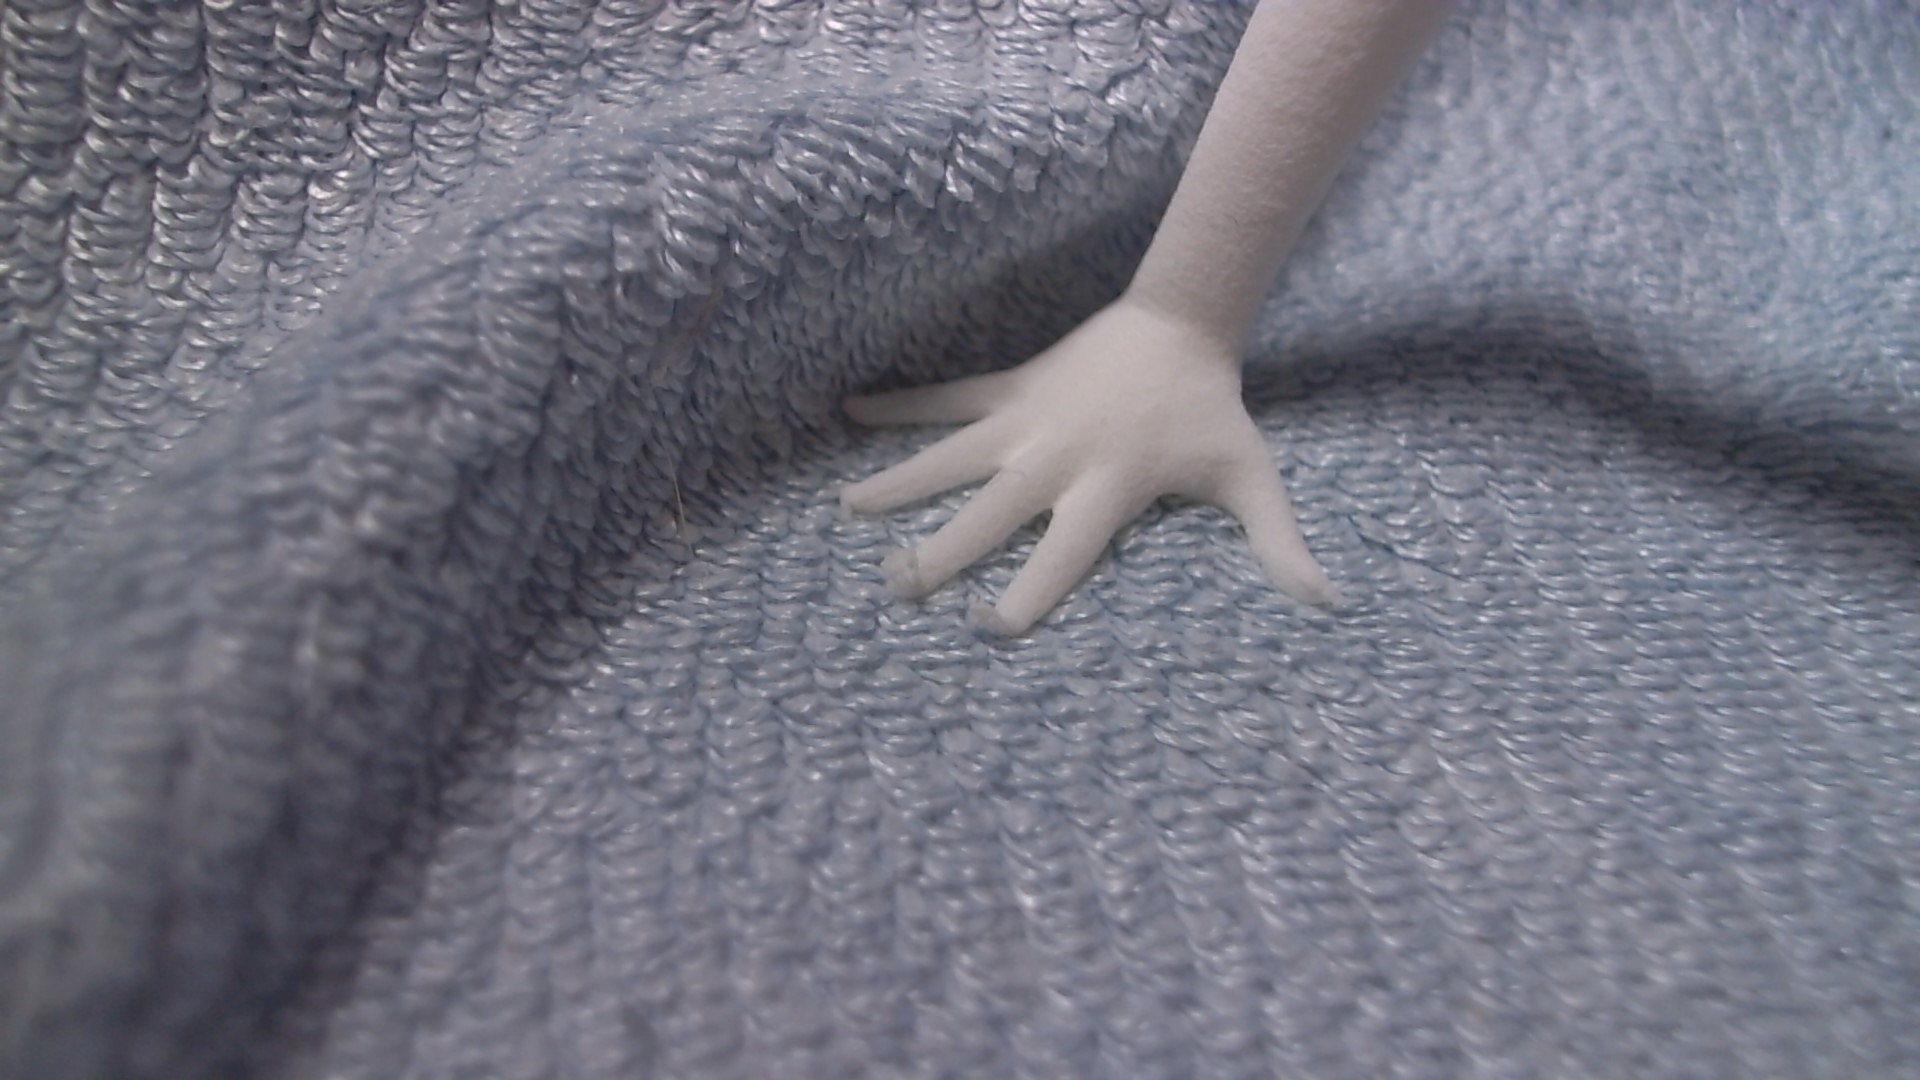
Her thumb is still missing, though. Then again, I was more interested in checking how well the 3D printer handles holes, like the area where she keeps her left hand. In front of her genitals, to keep it decent, yet far away so it doesn’t touch. Combined with the position of her legs, this results in a complex hole to print but it ended up flawless. Even her left hand was intact.

WIN_20151026_102409 WIN_20151026_102511

So, what I’ve learned from Nora is that thin elements like fingers and shoes won’t print very well. White plastic does a better job than sandstone, though. That’s because sandstone needs further processing after the printing is done, which requires some manual labour. Thus, small parts can end up being damaged.

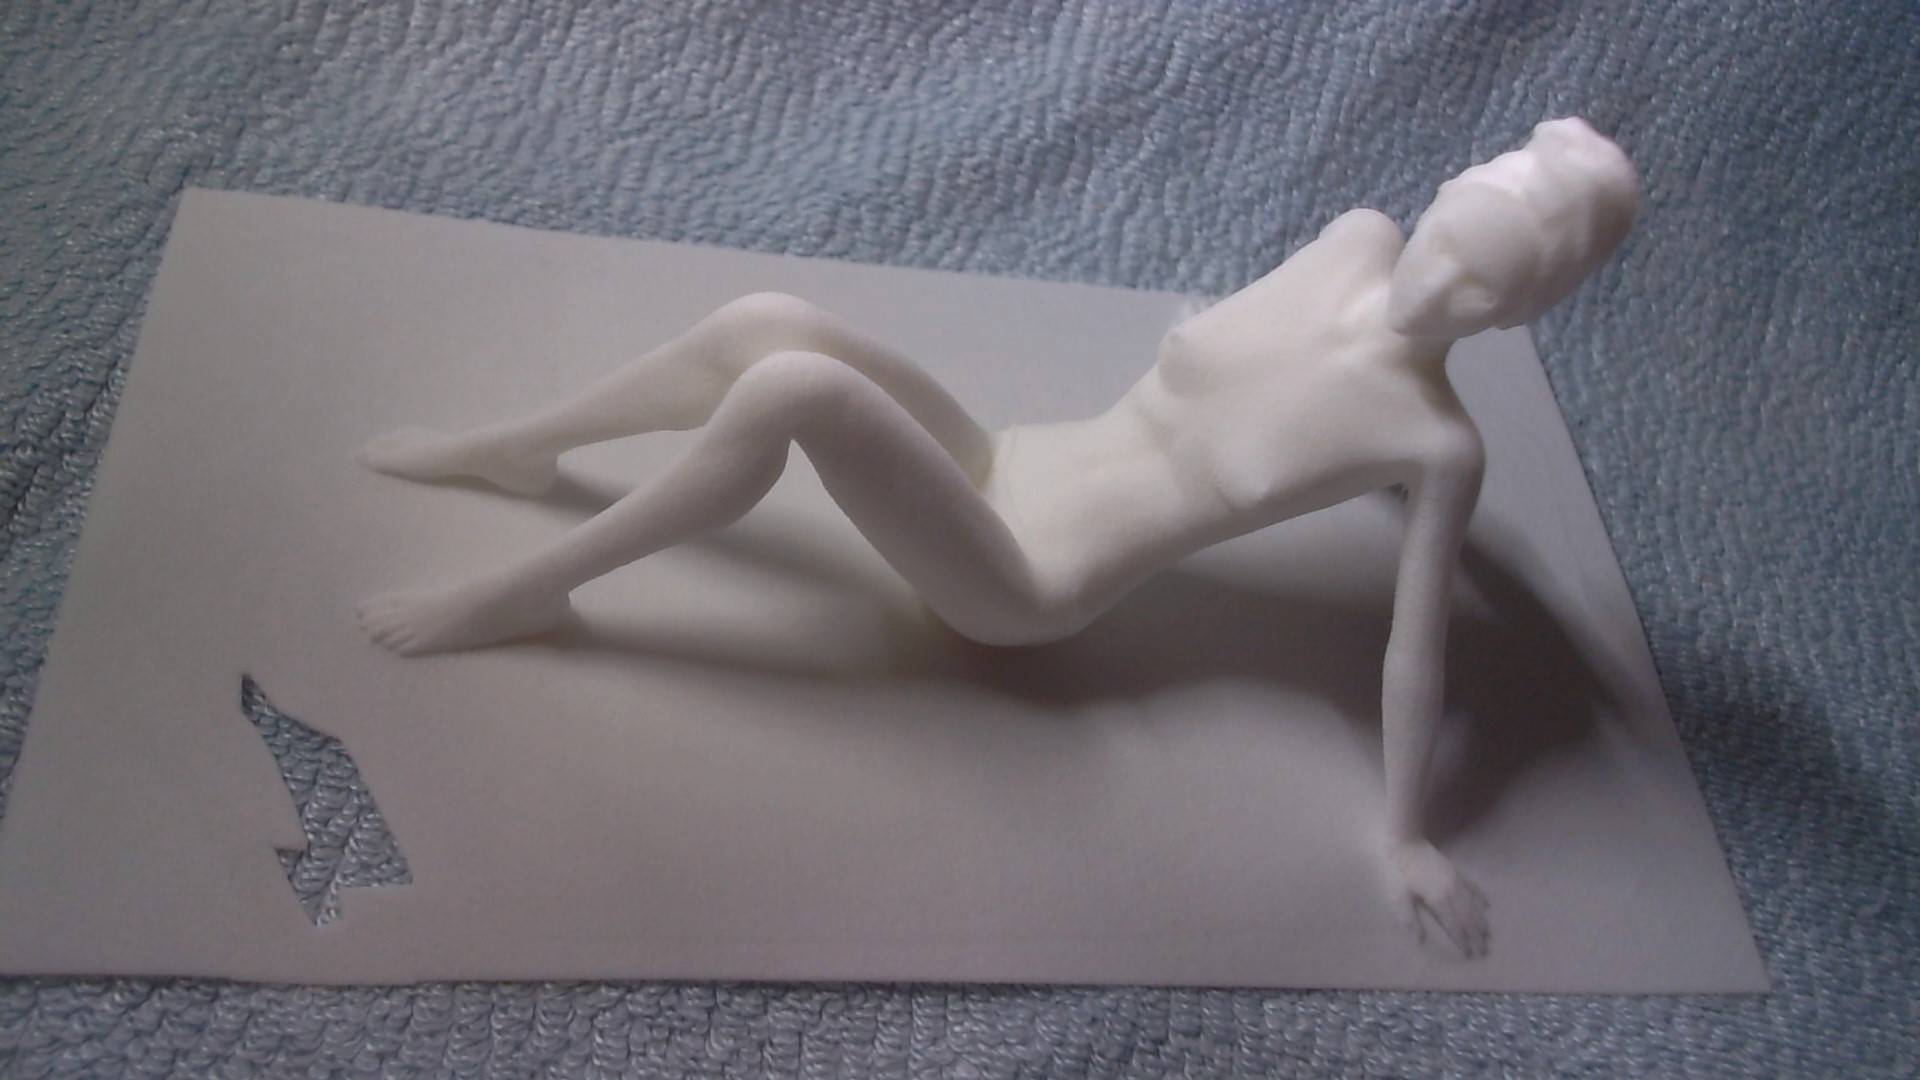
Another part that’s important with the sandstone version is the textures. For this, I will check her face:

WIN_20151026_102344 WIN_20151026_102524

And in case you’re wondering why her hair is covered by a towel, well… Hair really doesn’t print very well. It tends to generate loose shells or often to parts that are too thin to print. Besides, the towel makes her look as if she’s just out of bath, relaxing.

The White plastic versions shows a reasonable amount of details in her face. Even her open mouth is printed quite nicely. The sandstone model also has an open mouth and you might see her tongue and teeth if you look inside with a microscope. But I’m more looking at her face and eyes.

Printing in colored sandstone has an ink density of about 50 DPI. Normally, a printer would print at 300 DPI so the colors will lose details. But I chose a light-colored iris and Nora has good-looking pupils in this print. Which is important to remember, since dark eye colors might darken the whole eye. It still looks good in my opinion. At least better than what I can do with paint and a brush.


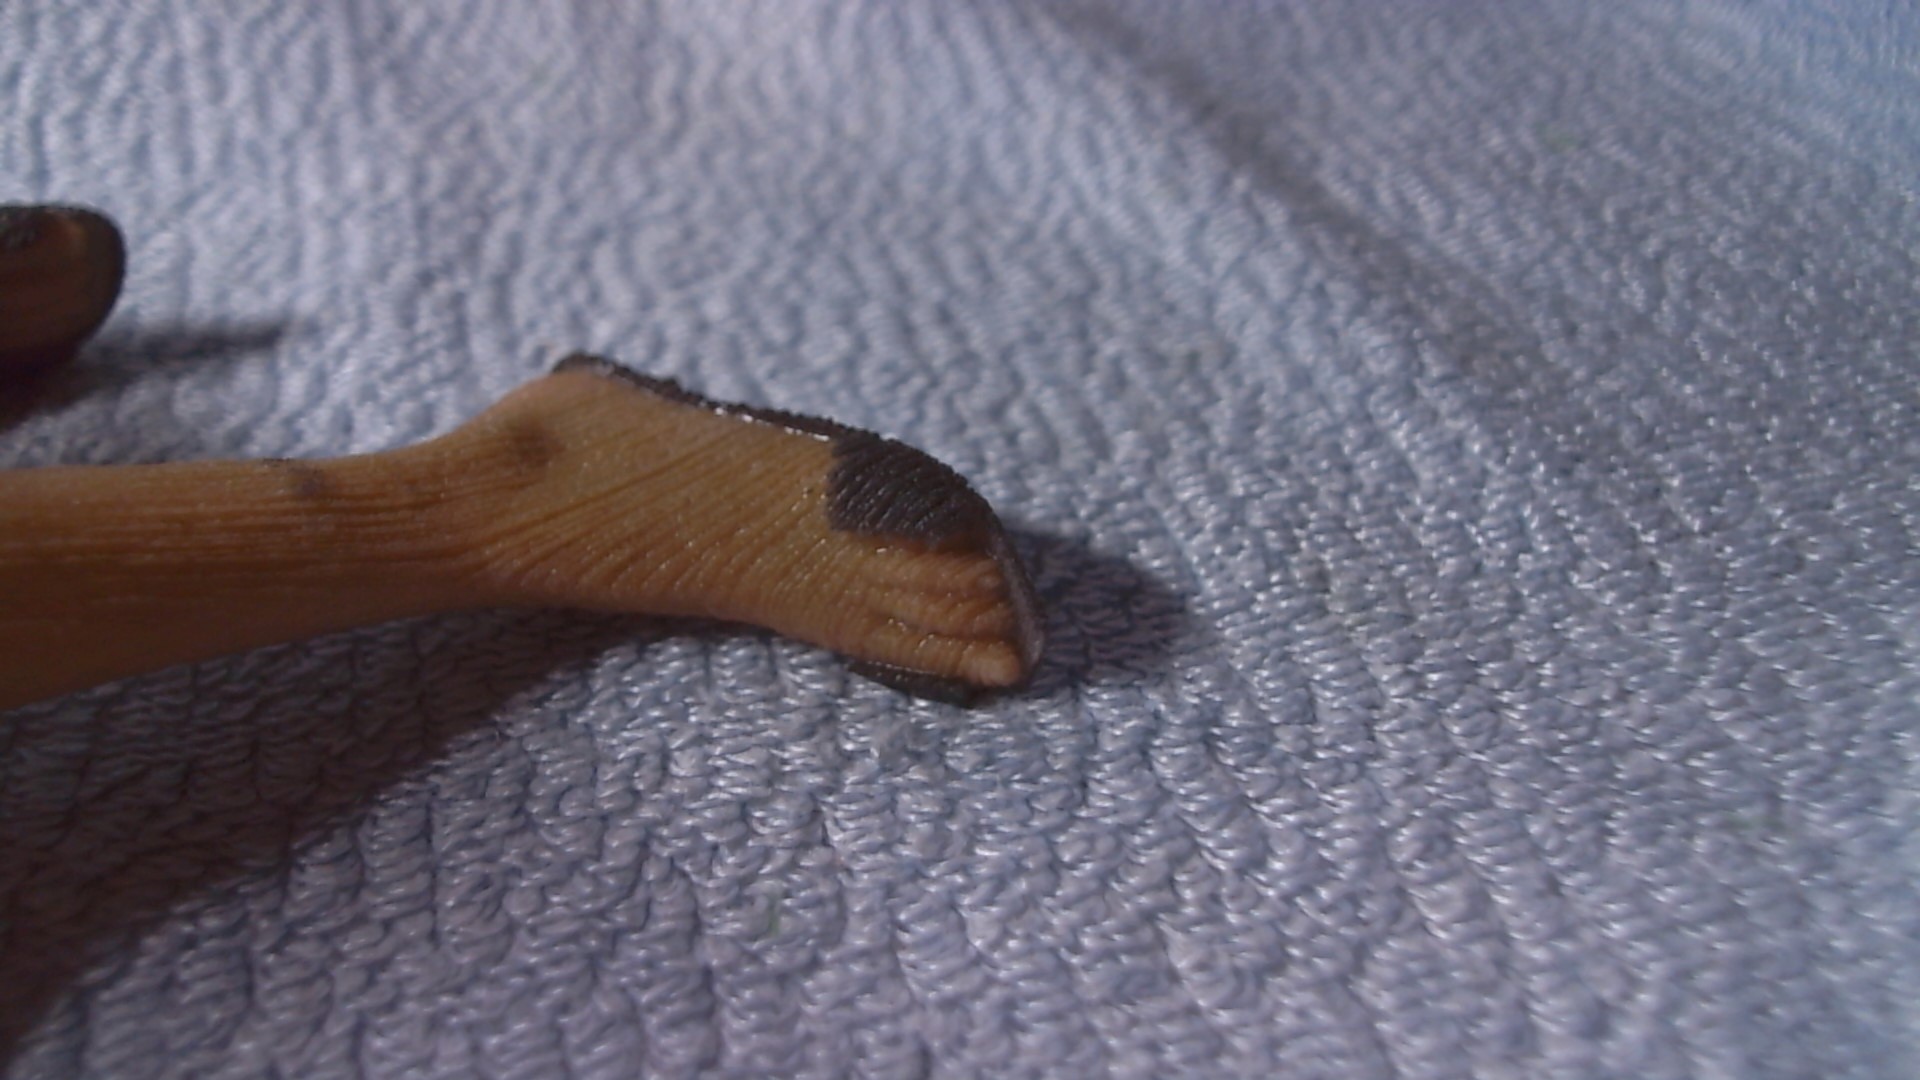
The next model is Cassiopa. Since I know that thin parts won’t print well, I’ve placed her on a towel, hoping for a better result. The result is okay but the sandstone version did not survive the print because the towel was too thin. So I uploaded a newer version of Cassiopa on a more solid floor and in this version, I also adjusted her clothing. Why? Because I need to test more than just panties on topless women. Still, the white plastic version looks okay, although it is a bit small:

WIN_20151026_102632 WIN_20151026_102652 WIN_20151026_102700 WIN_20151026_102817

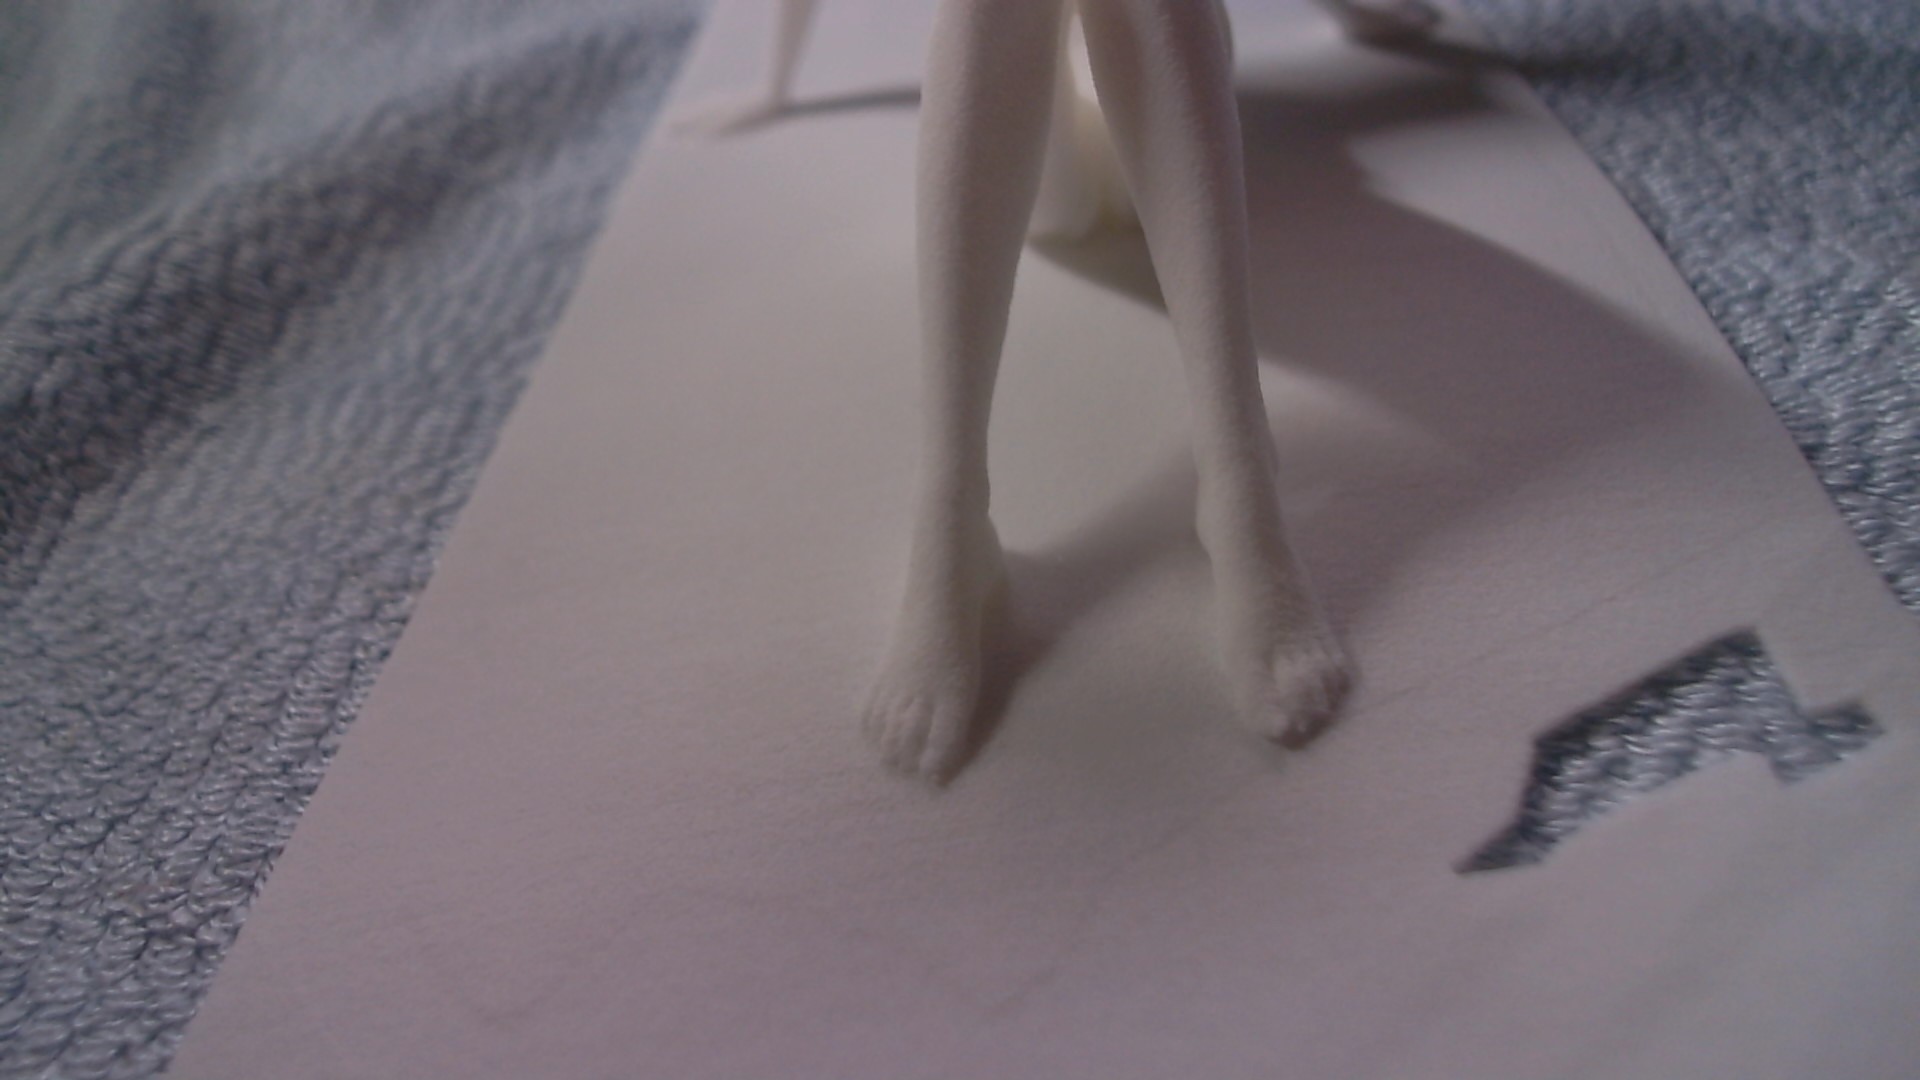
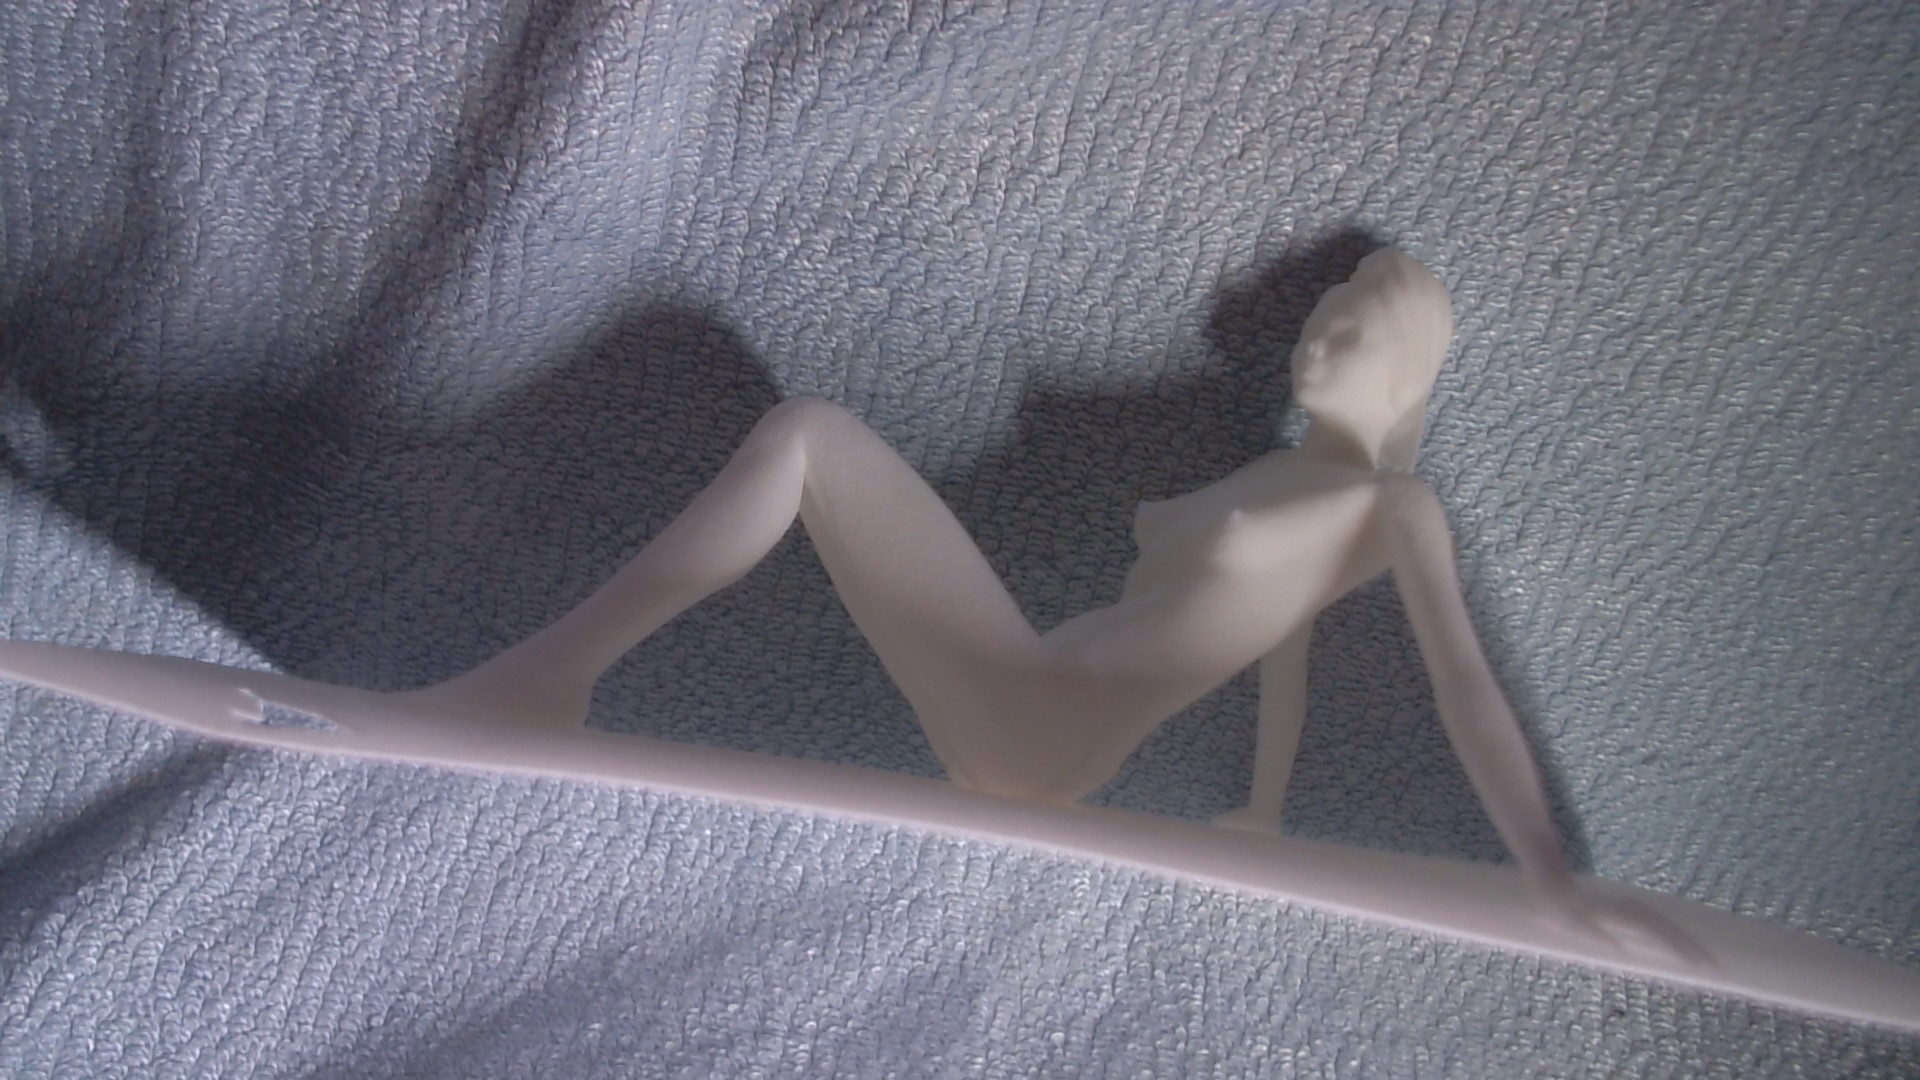
The model was almost 15 CM long, but that’s the length of the towel. Cassiopa uses only 2/3rd of this length, thus she’s smaller than my other models. (This also happens with one of my Tommi models.) Smaller means that fewer details will be visible but it is still detailed enough.

The towel she’s on has a hole in it, which is too bad but I’m not too worried about it. I now know that I can’t use these kinds of thin plateaus for my models to rest upon. In the sandstone version, the towel had crumbled away.


The last model is Tommi which I’ve combined with a rack. I made a second version of Tommi climbing this rack but Tommi herself becomes small if you do this, thus losing details. Let’s look at the climbing version first:

WIN_20151026_103142 WIN_20151026_103151 WIN_20151026_103216 WIN_20151026_103233 WIN_20151026_103242 WIN_20151026_103256

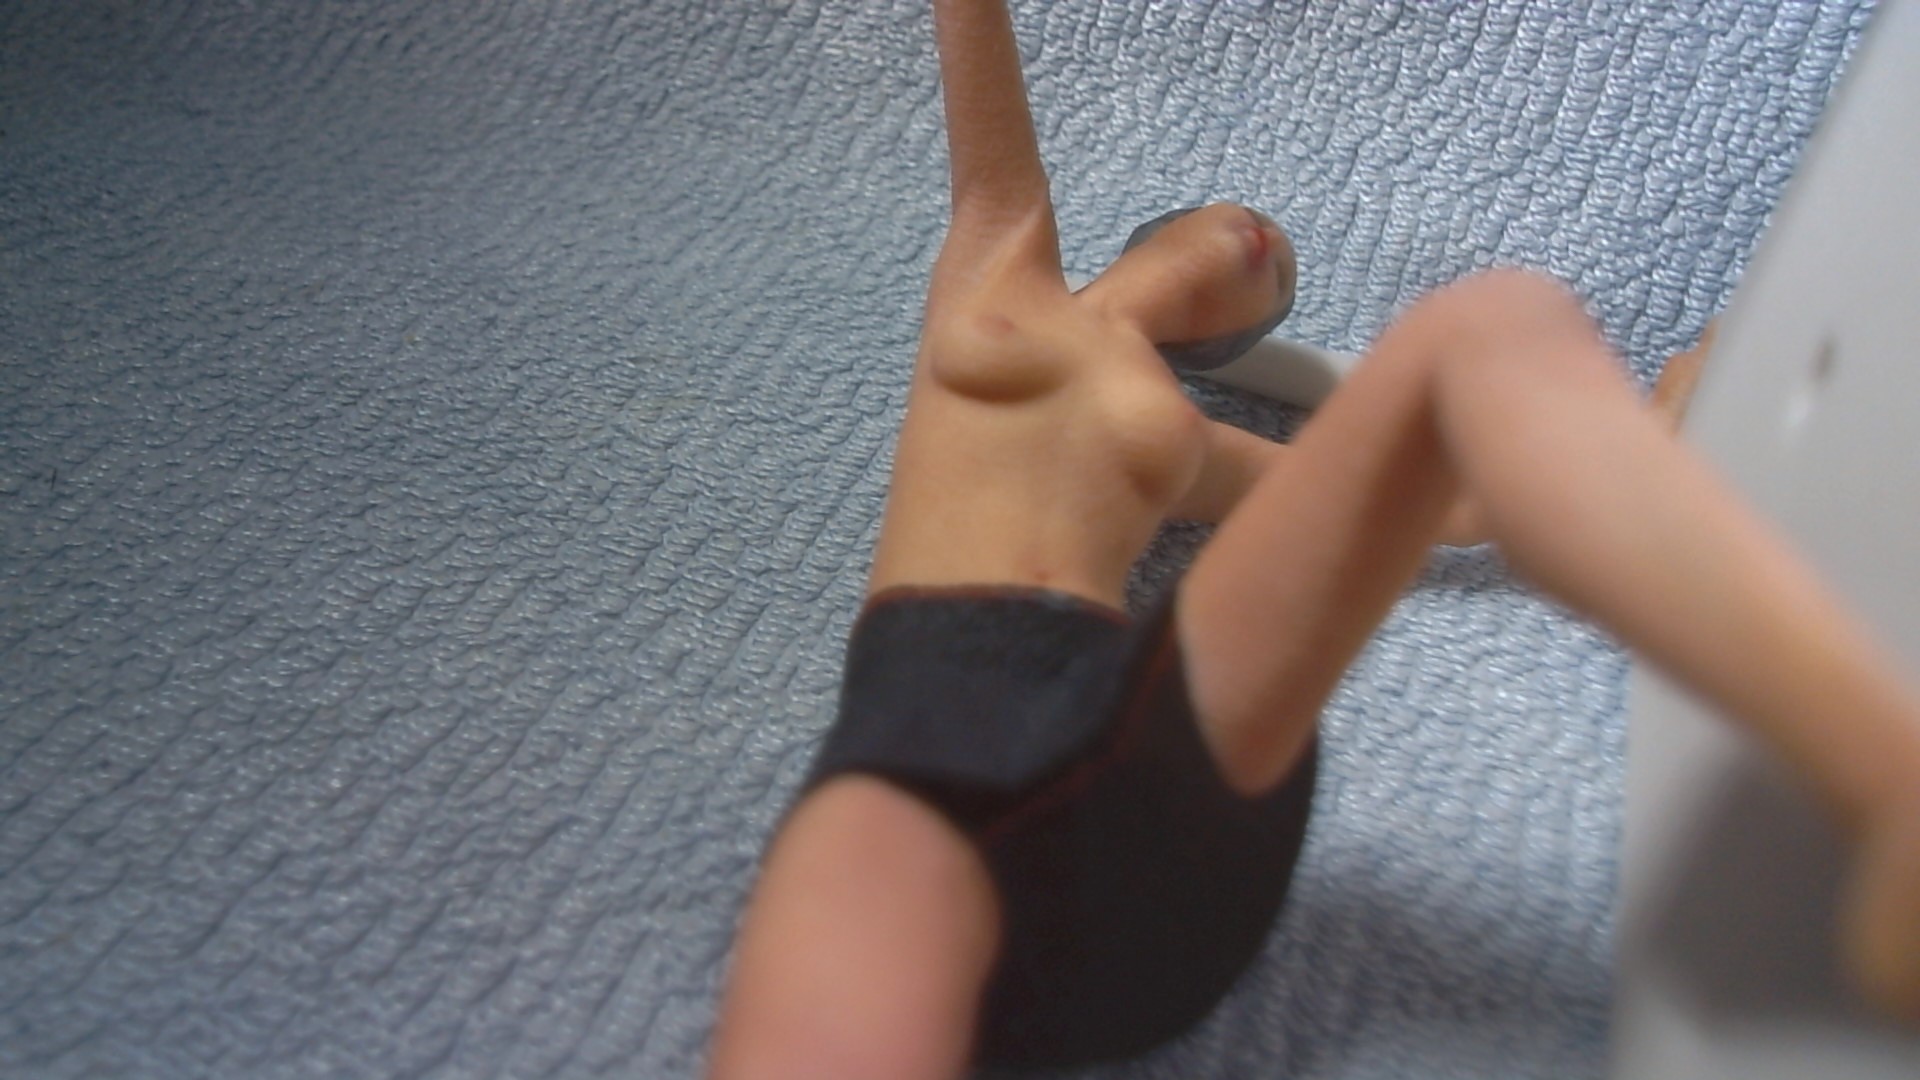
I gave Tommi a skirt instead of panties so you should have been able to look up her skirt. However, Shapeways repairs this automatically and as a result, the skirt became solid. And that’s a flaw in the skirt model.

This is a colored print so her texture helps to add details, but she’s too small to be very clear in details. She did have a flaw in her right hand, since her fingers were too thin and either did not get printed or broke off afterwards. A bit of paint will fix that, though. It is just something to remember.

So, remember: make sure thin parts are well-supported and preferably resting against something else and with clothes, be aware that Shapeways might fill in specific areas that you’ve hoped would stay hollow. In this case her skirt but I also tried another interesting top on Tommi but that added a white mass over her breasts since Shapeways was filling the area between the left and right cup.

Next, the bigger version of Tommi with her resting upon the rack. That one was perfect, although one of the legs from the rack had broken off during transport. So, even if a part is thick enough to print, it might still be very vulnerable. With a length of over 4 CM, they can’t handle a lot of stress. Still, this model is great with no broken appendices and even her toenails are visible!

WIN_20151026_102904 WIN_20151026_102914 WIN_20151026_102958 WIN_20151026_103102

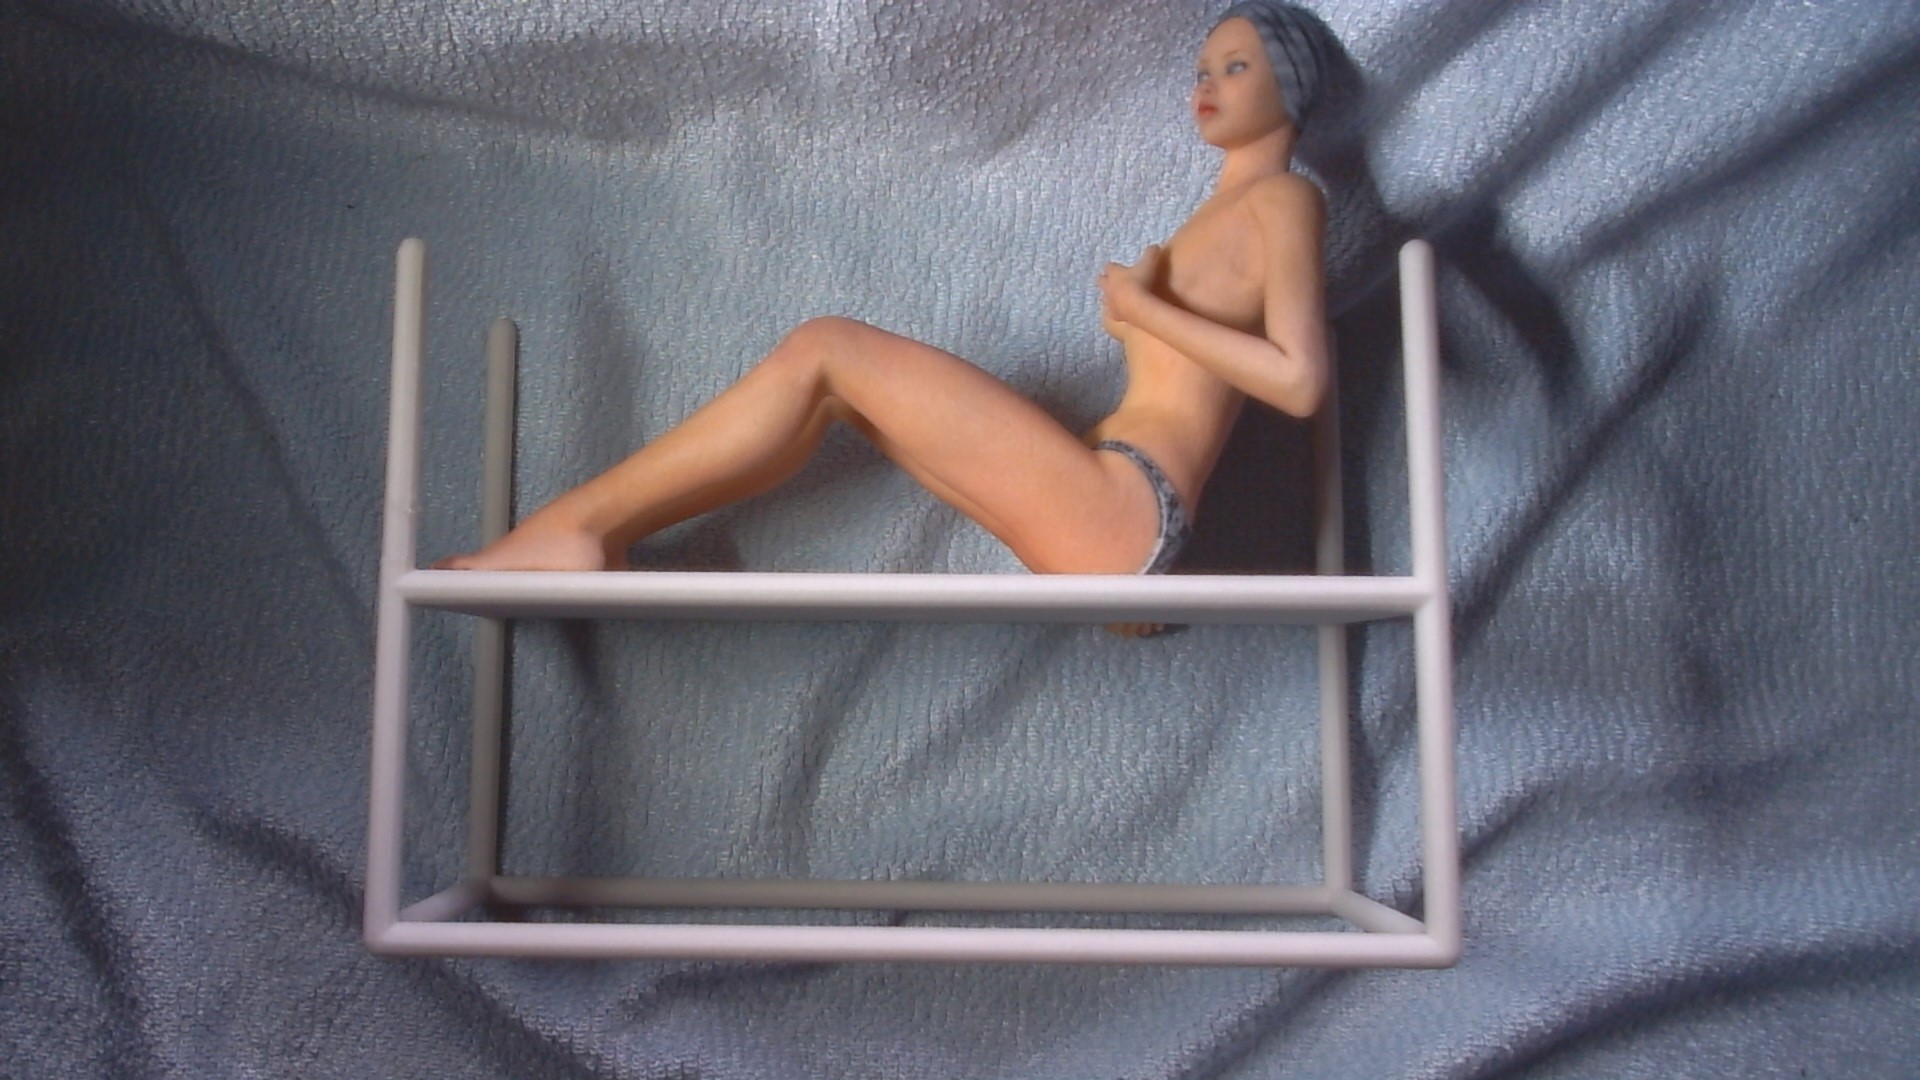
Well, at least I glued the leg back in place. I might decide to remove all four instead, though, if I fear they will break again. This model happens to be quite heavy too, which makes sense since she has the biggest volume of all. Her eyes are nicely detailed and her skin color even has some variation around her knees. And you can see her toenails! A bigger model is nice in that regard so if your model has a lot of fine details, have it printed in a larger scale! Although the price will scale up too, since more materials will be required.

Well, these three models all look reasonable well and taught me what I need to know about printing Poser models: use a reasonable large-scale, support all small parts and be aware that hollow spaces might end up being filled with extra material because Shapeways “repairs” some thin materials.

I kept these models mostly undressed because I know the textures of these models and needed to see how the color printing will support the texture details. Also, it is difficult to find Poser clothing models that are working well when uploaded to Shapeways. These models are not made to be printed in 3D but to be rendered. So finding good clothes to print is difficult. For Victoria 4, her bikini top and bottom do print quite well, though. They too are filled up, but the filling it towards the body of the model and not between both cups.

Another problem is the limitations on models set by Shapeways. There’s a size limit and there’s a polygon limit. (64 MB or 1 million polygons.) Poser models can easily go over this amount of polygons so you will have to find a way to reduce those, while keeping textures intact.


And then there’s the rack used by both models. The rack is the same length for both and I’ve created it myself by using the Firestorm viewer with the Second Life virtual worlds, but I could have used my own OpenSim world too. I just joined several cylinders for the rounded sides and balls for the rounded corners to build the framework. I also created a square plane with a hole inside, which I copied three times and put next to one another. I then exported the whole model from the SL viewer to a Collada file, which I imported in AccuTrans 3D to clean it up a bit and to reduce the complexity of it. (For example, by merging all parts into one single part.)

And then I checked if the rack has enough space for other hardware.

WIN_20151026_104131 WIN_20151026_104323

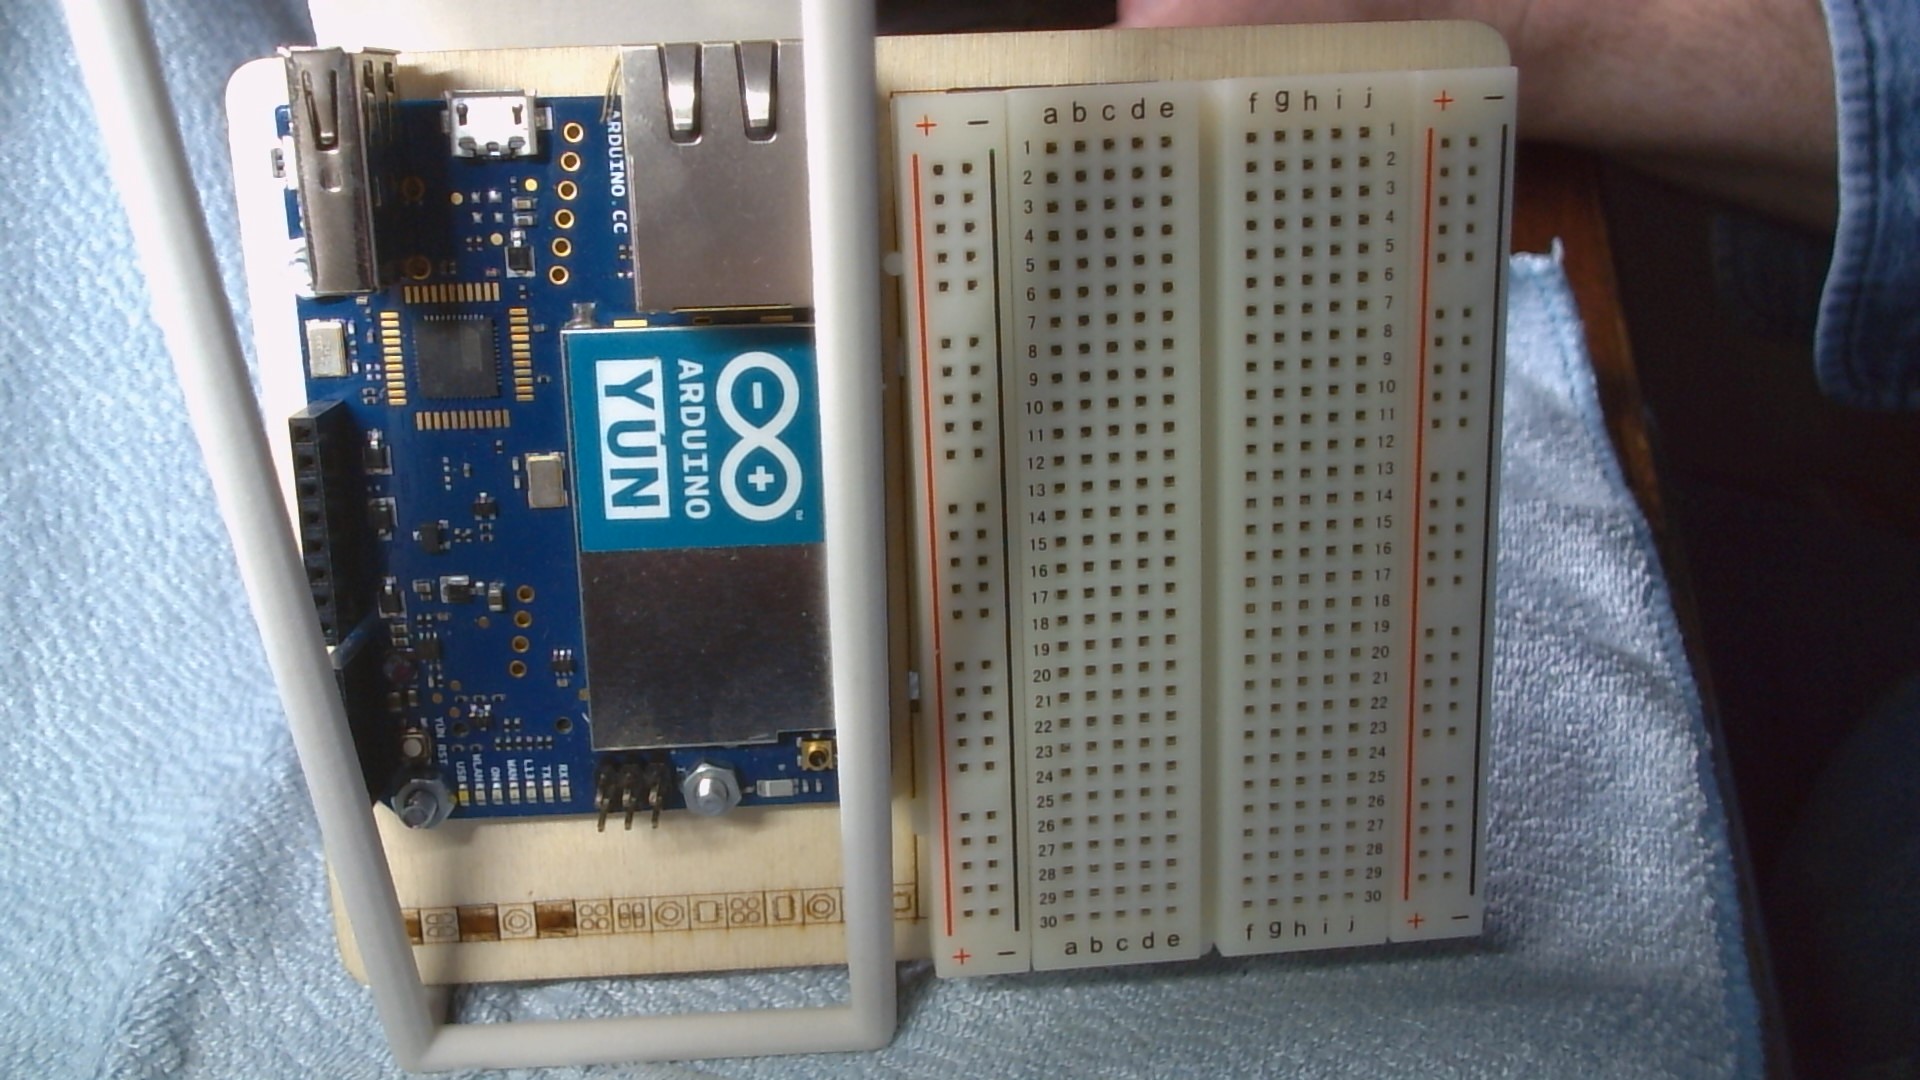
Well, the rack isn’t wide enough for an Arduino board

Since I copied the square plane three times, I had expected all holes to have the same size. And the rack was made so I can add some hardware in the empty rack space and have some wires or other parts move through the open holes to e.g. shine a LED light on the model. So, I was surprised when I discovered that the middle hole was slightly bigger than the other two. Which I discovered by trying to fit an Arduino-board. (The YUN is shown in the picture.) The length is long enough for the Arduino Mega but it will have a few millimeters on the sides of the rack. The pins are actually at the exact location of the long bars. So you could actually put an Arduino in the rack if you don’t mind the width.

But smaller devices like the Arduino Mini, the Trinket, the NetDuino mini and the Digispark have plenty of room inside the rack.

But back to the holes!

WIN_20151026_103544WIN_20151026_103535 WIN_20151026_103705 WIN_20151026_103853 WIN_20151026_103920 WIN_20151026_104434

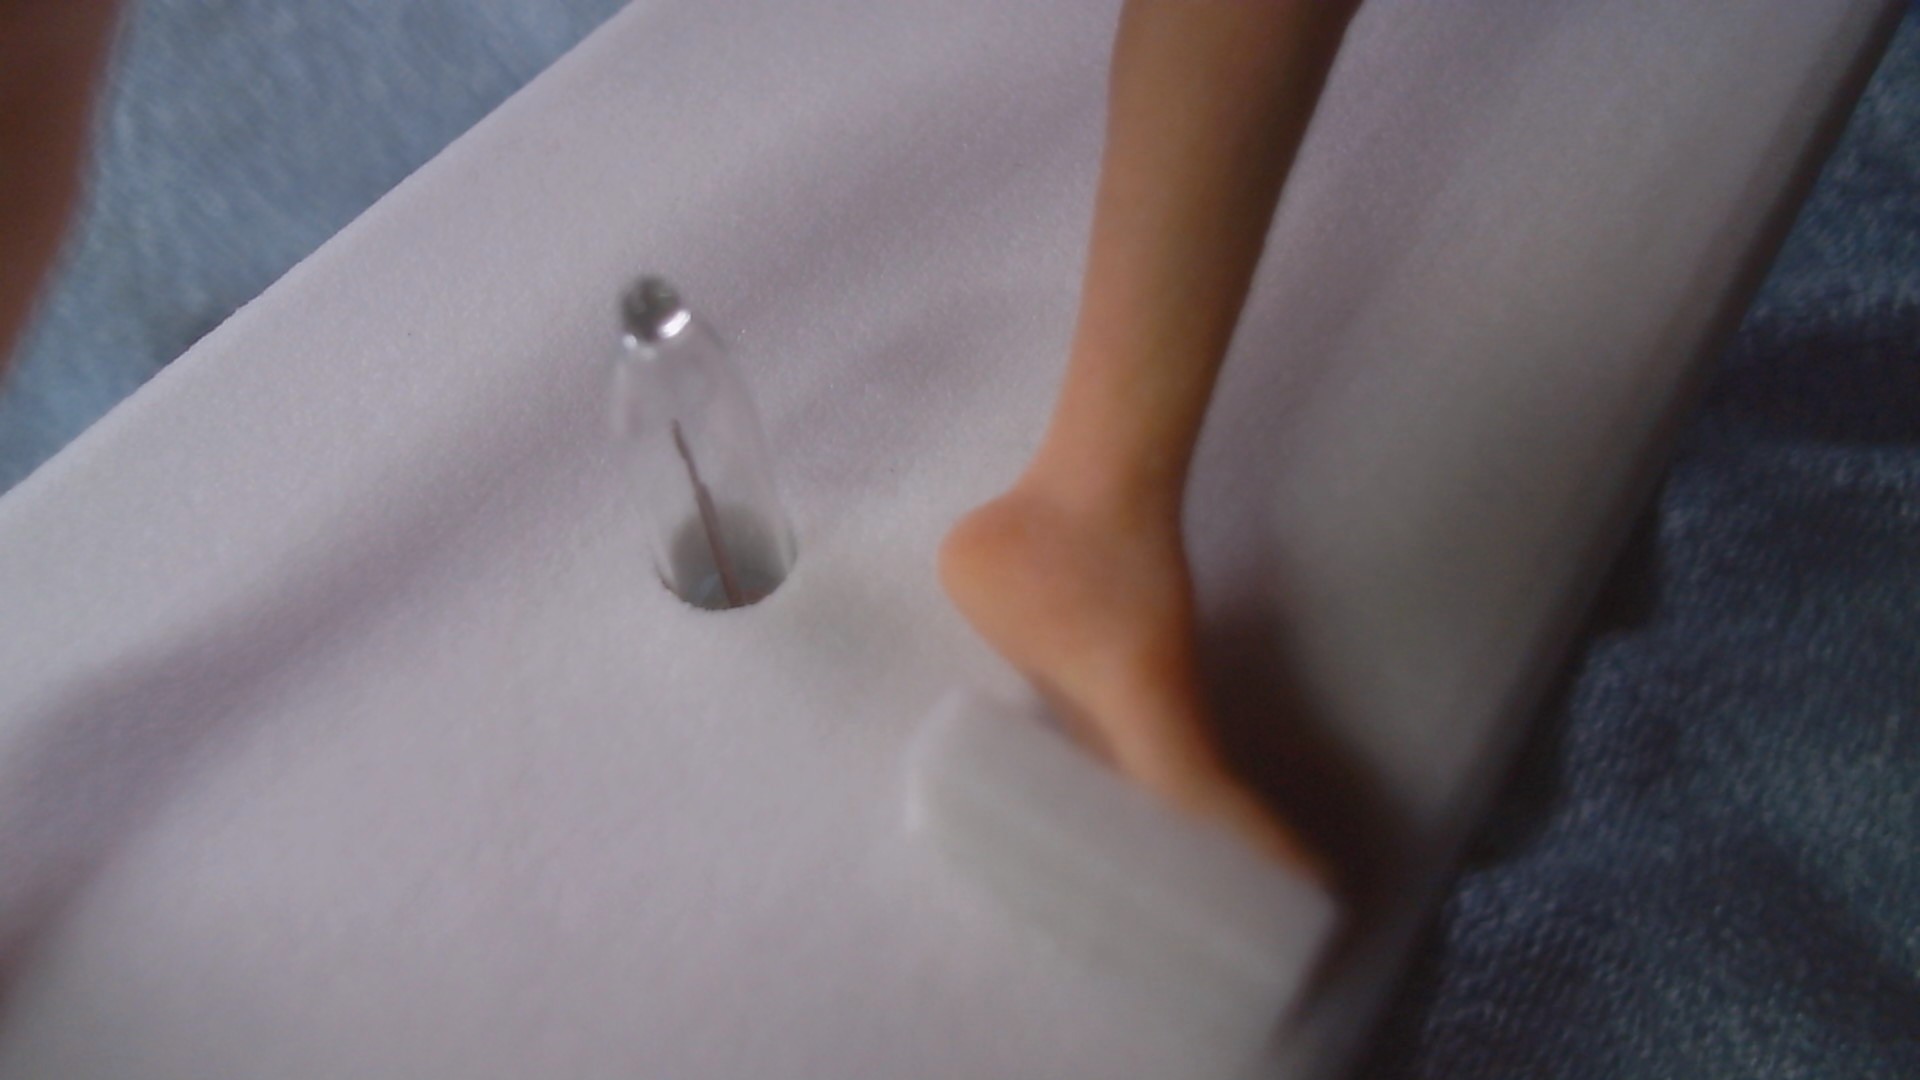
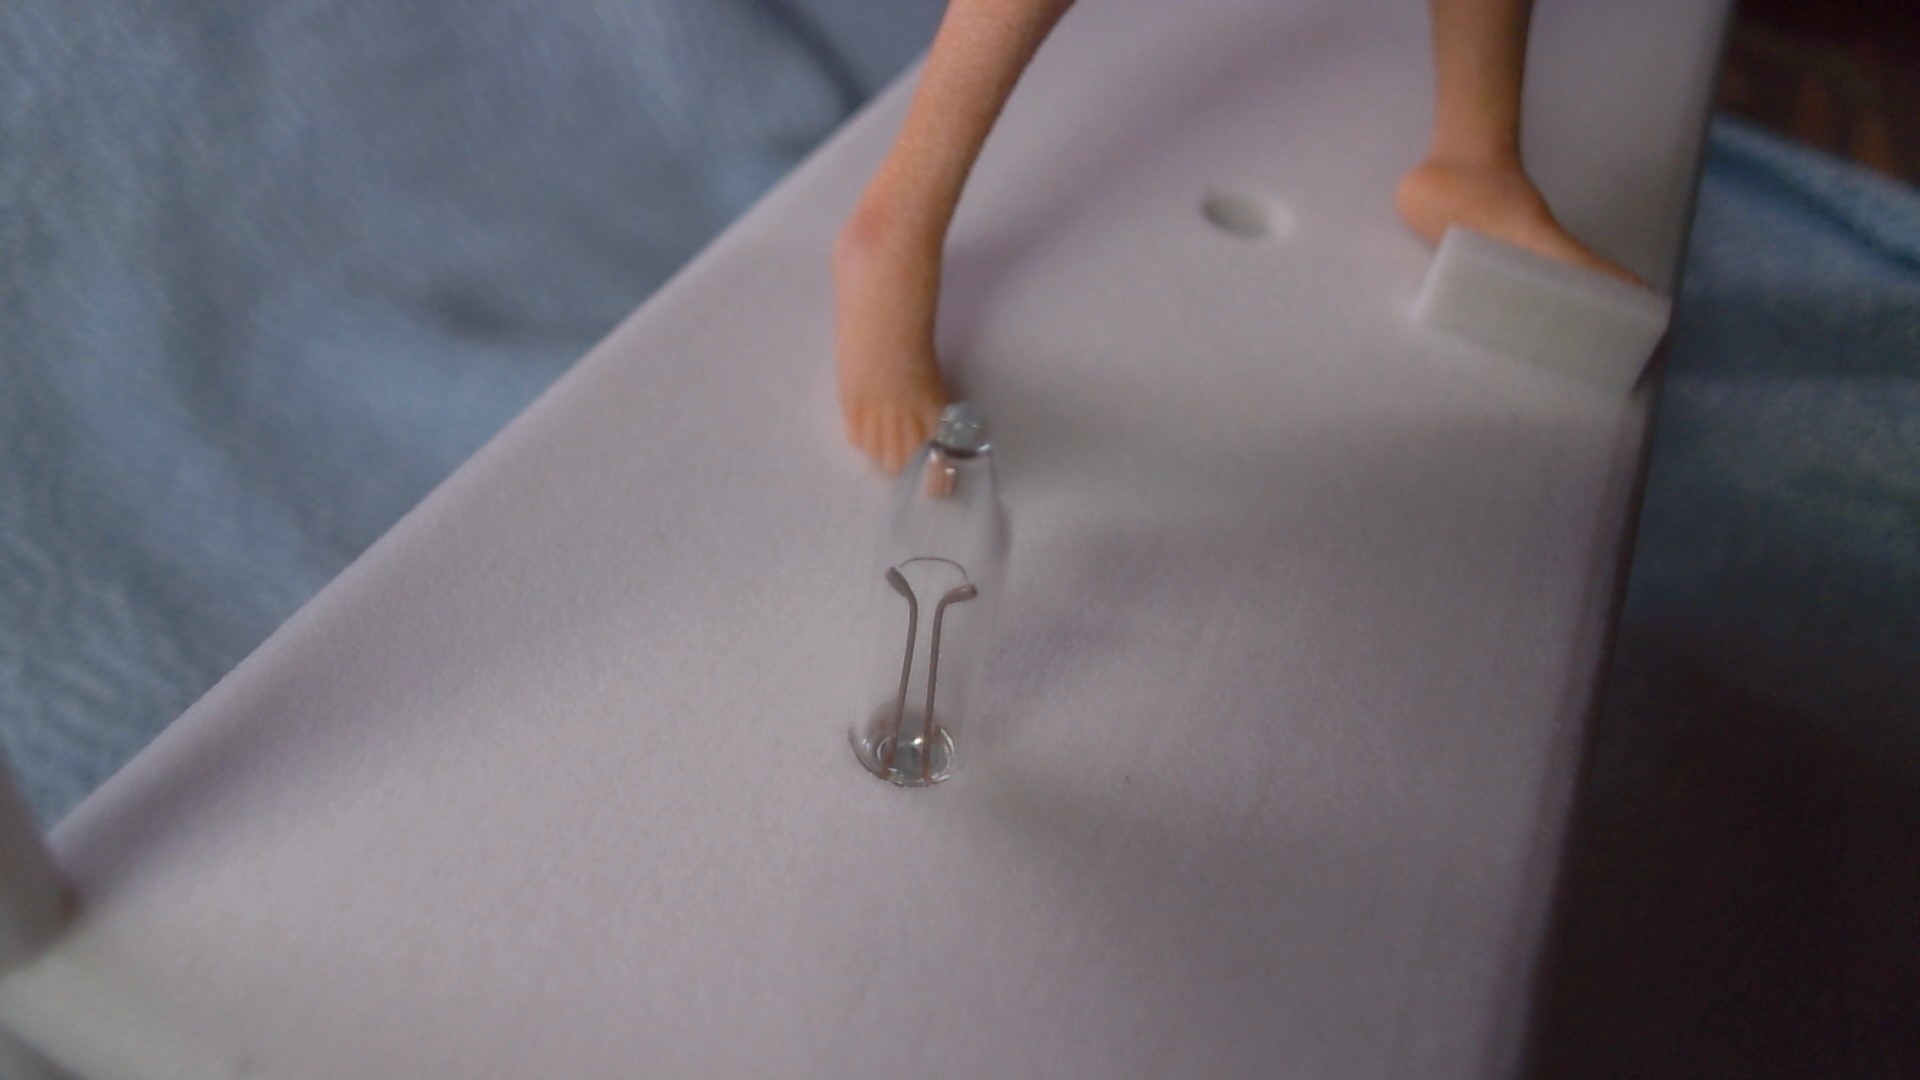
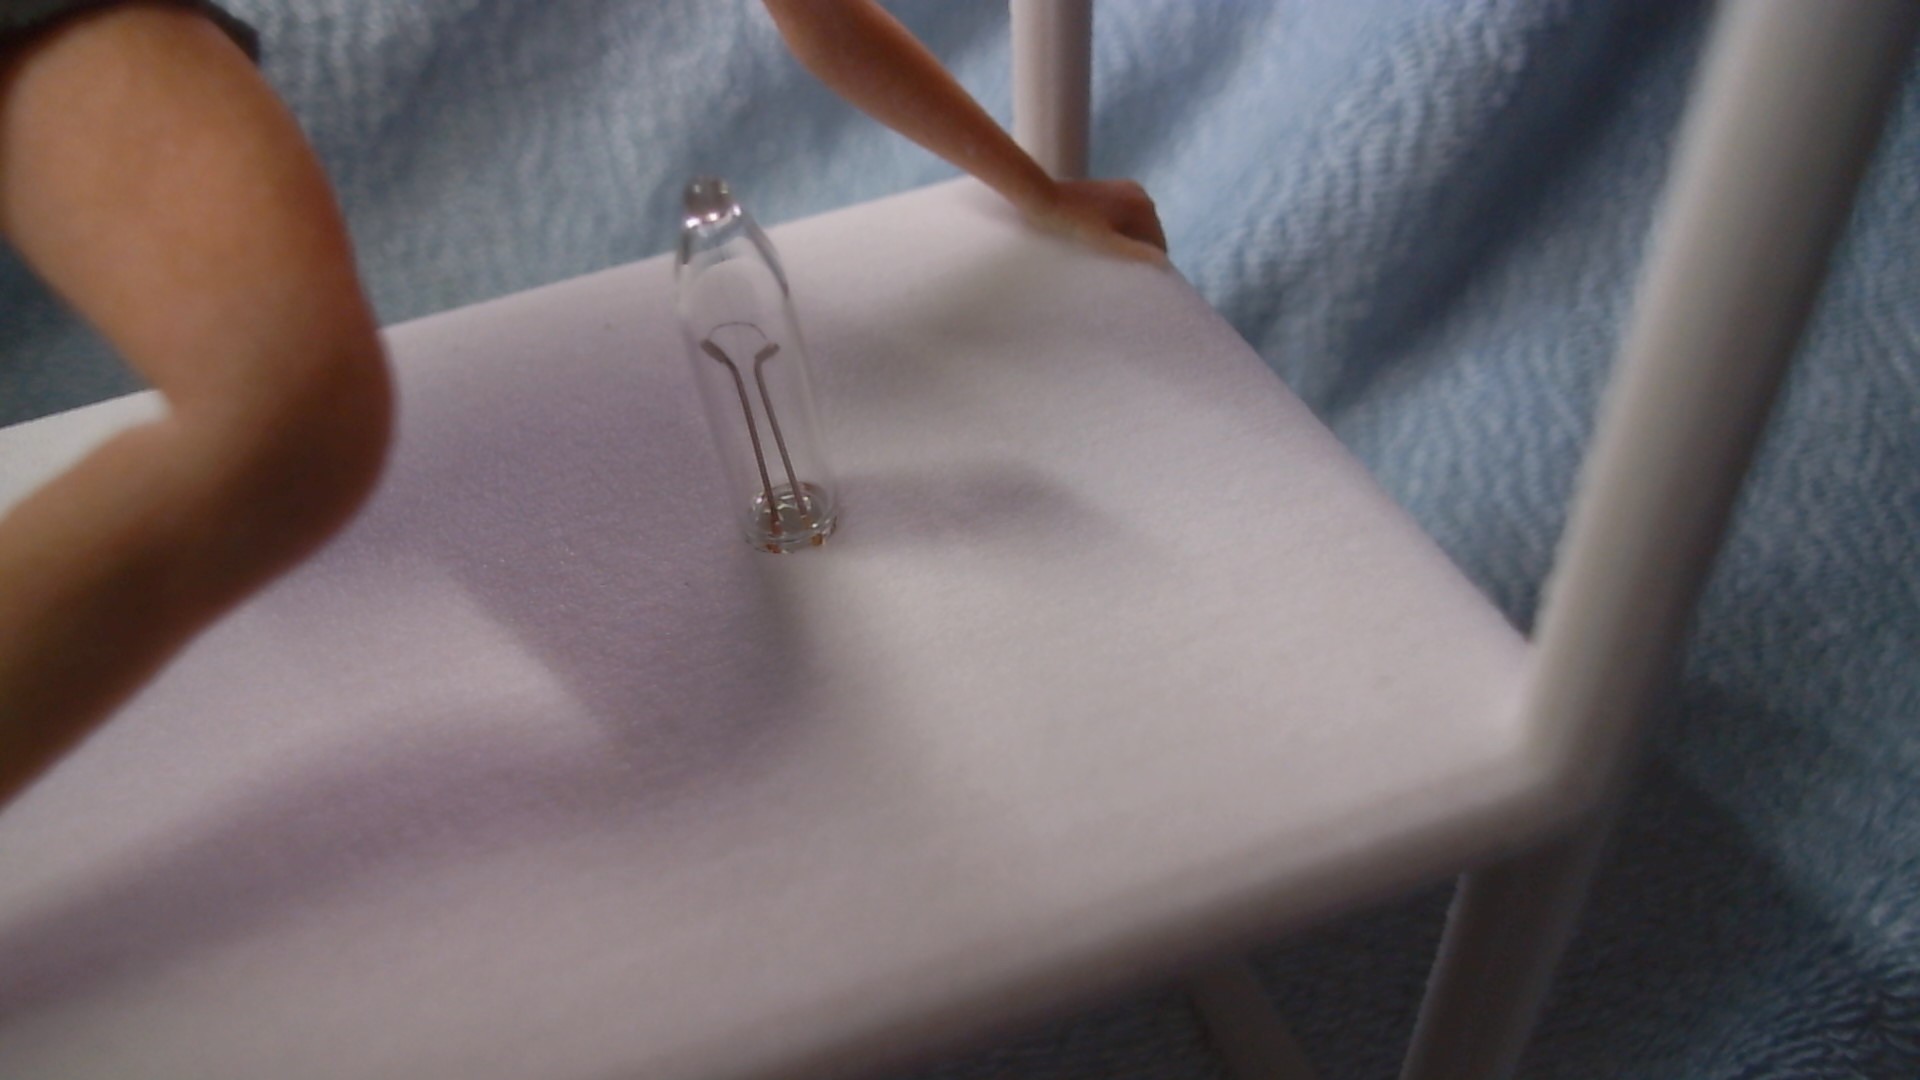
Using the climbing Tommi version, I used to try a green LED. It doesn’t fit the top or bottom hole but it does fit the middle hole. Trying it again with a regular lamp of 5 MM diameter, I see it going through the middle hole without effort but the top and bottom ones don’t fit. A laser light won’t even fit the middle hole, though.

The conclusion is that these holes are a bit too small for LED lights. No problem, since I can take a drill bit and make them wider. Still, I had hoped they would be big enough for a LED light. So I have to redo my calculations. And I have to wonder why the middle hole is bigger than the other two, while they’re basically all the same in my 3D software.

Anyway, I now have two great models for containing some of my experimental hardware. I know the racks are open so the hardware would be exposed but that’s something I will solve with a next version of my rack. I also know how thin the walls can be and how thin the walls of my rack are. I can still have the rounded areas but the rack should get more solid walls. Thin walls too, since the rack has a lot of volume.

Next, the question what I would like to create with these models. Whatever I think of should match the model. The three holes in the rack are meant for lights, cables, buttons or something else but I don’t want to show too much hardware on the model side of the rack. I also need to find a solution to attach the additional hardware to the rack, since it doesn’t have any special pins or whatever to hold them. Then again, these models were created to see how well these racks would print. The different hole size was a surprise for me which I need to include in my calculations.

And the three rack-less models? They’re just nice desk ornaments.I have ordered more prints so I will likely have more ornaments soon.

My next designs will have better racks, preferably with extra points to hold my hardware in place. The sandstone prints still look great but I have to consider the size of the whole thing. And I will need to experiment with clothing, to see which items will print best. The same is true with hair, since I still have to find hair that prints well in 3D.

All in all, 3D printing is a very interesting challenge. Slightly expensive too, though.

Adventures in 3D.

I remember when Blender became first available for me. It was a 3D rendering engine and it looked fun, so I downloaded it, installed it and tried it. This was somewhere around 1999 and I still had a lot to learn back then. Still, I did not like the user interface of Blender (and still don’t) and I considered it too complex and not useful enough for myself so I soon forgot about it again. I still was interested in rendering 3D images, but I also wanted something simpler.

So, around 2004 I purchased a copy of Poser and it had the user-friendliness that I was looking for. I needed to collect all kinds of models, though. But by using models I could create some interesting images and could use my own CGI artwork instead of my own photographs for the software development that I like to do.

Being able to generate your own artwork for your applications is a better option than depend on stock material or purchasing/hiring others to make it for you. I don’t want to violate copyrights of others, but when you create websites, you need some graphical parts too and I needed to be my supplier of these images. Buttons were easy, since Paint Shop Pro and other 2D software had plenty of functionality to create them. But more complex things like showing a person behind a computer either required taking pictures or rendering a 3D model. Poser made the second option available to me.

When Second Life became hot, I also played a bit with that. Here is a 3D environment where you can build 3D objects simply by combining several basic shapes, or prims. (From primitives.) The game gave me a more comfortable feel around 3D environments and made me wanting even more.

And now its 2014. I have a piece of land in Second Life where I can build all kinds of things. I use the Firestorm viewer which allows me to exports my own objects from Second Life to use in other 3D software and from there I can continue to change them even further. Second Life also allows me to import back those objects I’ve exported and modified and allows me to import other objects from 3D software, although it does have a lot of problems with many of those models. Unfortunately, Second Life isn’t very clear when it reports errors and doesn’t seem to be able to simply fix some problems during import.

But in all this time, I’ve gotten a nice collection of 3D software which I will mention now, including where you can find it and what I think about it. All software I have are used on Windows systems.

Blender

Blender is a very popular product but I consider the user interface a bit complex. Too many buttons and options are polluting the screen and make it difficult to understand. To make things worse, it’s user interface behaves different from standard Windows user interfaces. Dialog boxes tend to appear anywhere, with plenty of different options instead of Yes/No or Ok/Cancel. Information is visible all over the screen so you have to look everywhere to find it. It’s just not intuitive, which is probably because this is an open-source collaboration between many developers who each left their own marks on the application.

Personally, I think the Blender user-interface needs a complete rewrite…

POV-Ray

POV-Ray is another 3D render engine and even older than Blender. POV-Ray uses scripts instead of a 3D graphical environment thus it’s not easy to use if you want to generate some 3D model. You just have to write each line in code for this software. Fortunately, there are plenty of 3D modelling applications that you can use to generate POV-Ray scripts. One of them is:

AC3D

AC3D is a commercial product that makes 3D modelling quite easy. Not as easy as Poser or Second Life, but it has plenty of good features. It’s user interface could use some sanitation, though. On my dual-monitor setup, some of the dialog boxes tend to pop up on the wrong monitor. But it’s very practical and supports several 3D image formats. For all others, you might want something that’s able to convert many different formats. Something like the Online 3D Model Converter or an application like:

AccuTrans 3D

AccuTrans 3D supports a few 3D image formats, allowing you to convert your models between different applications. This software also allows you to make some simple modifications to your models and I’ve used it to convert my Poser models to a format that Second Life understands. During this conversion, I also merge the parts of my models that all use the same texture, thus making the models simpler within Second Life. Of course, there’s an alternative that’s free:

MeshLab

MeshLab is open-source, but it has a clear user interface. It still has a few flaws, though. For example, it’s a bit slow compared to AccuTrans 3D. And it fails to correctly import some of my models correctly. It also fails to generate an export file that Second Life can read correctly, thus I need AccuTrans 3D to create those. (And even then Second Life tends to have problems importing them.)

Still, MeshLab is useful and allows you to make several changes to your models. But if you want to put models in proper poses, you will need:

Poser and Poser Pro

Poser is my favorite tool to create 3D models to use within my software. If I need a model of a person behind a computer, I can make it within 20 minutes with Poser. Just take a model of a person, add clothing models and a computer model, perhaps a desk and chair model and start rendering. It is very easy to use and it can import models created by other applications, although those will be less flexible than regular Poser models.

Another application that can be used with Poser models is:

DAZ Studio

DAZ Studio is free, thus making it very popular. It uses the same models as Poser does and DAZ also sells those models! Thus, DAZ has become very popular as supplier of Poser models.

But maybe it’s because I’m too used to Poser already, but I don’t like the user interface of DAZ Studio. To make it worse, I’ve tried to open some of my Poser models with DAZ Studio, only to discover that DAZ Studio did not accept many of the changes I’ve made to the models. Body parts were reset to their default shapes and it just did not look right.

Still, if you use Poser or DAZ Studio to render some new images, you’ll often want to have some interesting background too. Indoors settings aren’t much of a problem but outdoor images would need a more complex environment. One solution would be:

Bryce Pro

Bryce can make some great environments, although it seems to be missing some functionality. It also looks very small on my screen with a resolution of 1920×1200. While the results look very good, the user interface is less practical than the alternative:

E-on Vue

I use Vue a lot to render models that I’ve created with Poser. The reason for this is because Vue generates very good environments while Poser creates fine models. I could use Poser to render those models, but the lack of a good environment makes them look a bit boring.

Still, one problem with Vue is that it cannot export my generated environments for use in other software. Although Vue does have an export option, it also has many models that are not allowed to be exported. Thus you can create a nice sea, with boats and an island, and try to export it only to discover that you can export just one tiny rock from the whole scene. Vue is also quite expensive, compared to Bryce.

There is far more 3D software available, for all kinds of purposes. DAZ Studio also has Hexagon and Carrara:

Hexagon

Hexagon is just another tool to create models in 3D. I like to use it and have created a few things with it, but it tends to crash a lot. It’s not reliable enough for big projects because it can unexpectedly crash while you’re working on some project. While it is very user-friendly, the instability is just annoying.

Carrara

Carrara is similar to DAZ Studio and Poser, since it’s meant to put models in certain poses. But it combines this with landscape modelling, making it more useful. It has a simple interface, making it very practical to use. Less is more. Well, at least for user interfaces. Users tend to get lost in very busy interfaces.

Carrara can use Poser models and more. It can import templates I’ve created based on Poser models, although it doesn’t always succeed at importing Poser scenes. It can export to a format that Second Life should be able to read, but this too has some incompatibilities. Second Life is just too picky.

Second Life

It’s easy to forget but Second Life itself is also very capable of building 3D images. And it seems to be very user-friendly at this too, since it does so in an interactive way with the user. You have an avatar that can walk or fly around the object, which helps you to create models at a nice scale. It supports several primary shapes that can be used to build more complex items. It also allows great control over textures on your objects.

However, to build objects in Second Life, you need some land where you can build. This happens to be limited to certain areas, unless you yourself own some land. You also have to pay small amounts to upload images to the Second Life environment, making it costly in usage. So, there is an alternative:

OpenSimulator

The OpenSimulator is an alternative for Second Life. It’s open-source, thus free. But it can be used by the same viewers that are used for Second Life. It is a bit complex to set up your own simulations and OpenSimulator itself lacks a useful graphical interface. For this, you need a special viewer:

FireStorm

FireStorm happens to be a great viewer for both Second Life and OpenSimulator. While Second Life has its own viewer, FireStorm has some more advanced features and can be used for OpenSimulator. You can use it to build objects within Second Life or OpenSimulator and then export these for usage in other 3D software. Thus you could use Second Life to make a building or fortress and export it and use it in Poser with some models around it.

There are more viewers available for Second Life and OpenSimulator, but I would recommend to use Firestorm.

VastPark

One more simulator. Unlike Second Life, VastPark seems to focus more on businesses who want to make more interactive presentations. And what better to use for this than a virtual environment.

But like OpenSimulator, you can’t really use this without first generating the virtual environment. This takes time and some skills with 3D images. You need to create models and create textures for those models, else it’s just a lot of white on white…

VastPark could also be used to create complex animations by recording the actions within the virtual world. This would be useful for creating training material or support documentation of special events, like car accidents or office fires.

LightWave

I haven’t used LightWave but it looks quite nice. However, I use the LightWave file format as export format for Poser. I then convert those with AccuTrans 3D to the Collada file format, which Second Life can import. The only problem is that Poser models are extremely detailed because they are used to generate highly detailed images. Second Life can’t really handle that much details and often fails to import these models. I can use AccuTrans 3D to split the Poser model in several parts and import those parts one by one, which seems to have a better effect. However, the models that you will import this way in Second Life eat away a lot of your land usage, thus you need a large piece of land. Or your own simulation!

FreeCAD

FreeCAD is just another modelling tool. It has some good examples but it lacks some practical functions. However, missing functionality can be added through plug-ins. It is a good tool to combine with POV-Ray. It can do a lot based on the design mode that you’ve selected.

DeleD

DeleD is another modeller, which is more used for game development. It is useful for simpler objects, not Poser models. It works a bit like Second Life, where you select cubes, spheres and other primitives to build more complex objects.

Speaking of game development, there are also libraries for developers that can help them to create their own 3D software. For example:

Horde 3D

This is an open source 3D rendering engine, to be used in games and 3D applications. It has been created for speed, thus less practical if you want to generate highly detailed images. But in a game, you want animations, and you want them in real-time, running smoothly.

Ogre 3D

Ogre 3D is another 3D rendering engine, written in C++ and with wrappers for use with Python, C# and Java. It too is great to use with games and other interactive environments. It also supports Linux, iOS, Android, WinRT and the Mac OS X. Basically, it’s a library around the OpenGL specifications.

OpenGL

OpenGL isn’t really an application but today, it is part of almost every computer that has a graphics card. The Khronos Group is responsible for maintaining this standard, thus every graphics card can be used by the OpenGL protocol. (At least, if the manufacturer added the support for OpenGL.) Most 3D software relies on OpenGL to display its graphics, although there are plenty of games that use DirectX instead. However, DirectX is an API created by Microsoft to be used for Windows applications only. Thus, many developers are focusing more on OpenGL while Microsoft seems to try to push them back to DirectX.

Oculus VR

The greatest dream of 3D will be the Oculus Rift, a special piece of hardware that’s supposed to give you a 3D virtual environment. Basically, it’s made of two screens, each of them showing you a scene from a slightly different angle. Since each eye will only see one screen, your brain will see the virtual world in 3D. (Unless you’re a cyclops.) It will respond on the movements of your head and development for this device will ask a lot from future developers. The 3D worlds are arriving for consumers and companies. It’s still mostly eye-candy to have nice, 3D environments. Development for such 3D worlds is more complex than having a simple web page with text on it. It will need to conquer its place in this world.

However, there’s also development done on 3D televisions and monitors that would not require special glasses to view its content. If such a device would hit the market, then 3D development would become even more important…

So, developers… Prepare to go 3D!